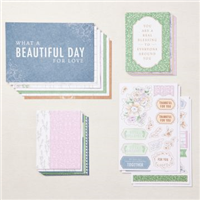
Yesterday was my Sunday Fun Day Class and we had Fun with Heart & Home
Memories & More Card Pack and Cards & Envelopes.
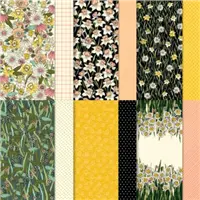
I used the small woodgrain card bases as Designer Paper and
paired it with Fresh Freesia and Smoky Slate.
The cards turned out so soft and elegant.
Here are the five cards we made using the woodgrain card bases as Designer Paper:

On the first card, I added Fresh Freesia Open Weave Ribbon to hide the score line from the
woodgrain card base that was cut down for the card front. To even the placement out,
I added another piece of ribbon.

The Timeworn Type 3D Embossing Folder helped add a vintage look to this card.

For this card, the front card panel is short to help showcase the Thankful for You
card from the Memories & More Card Pack. The Basic White inside the card
adds a nice background to the card.

.
I love making Fun Fold cards are this fold is one of my favorites.

The floral image on the right opens up to reveal a woodgrain piece,
then that opens so you can write your message.

Our final card is a Double Z Fold.
We have lots of woodgrain background that opens up to reveal more flowers and
the panel to write your message.

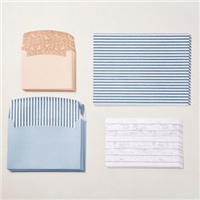
Come back Wednesday — I’ll be sharing the five cards we made using the striped card bases.
How would you like to make this 10 card set yourself?
I have a PDF Tutorial available for just $10.
The tutorial includes all the measurements, pictures and instructions to make all 10 cards.
Just email me that you would like to purchase the tutorial and I’ll send you instructions for payment
.
Here is the SUPPLY LIST for this project.
Click on any of the products to go right to my
Stampin’ Up! store:


I APPRECIATE YOU TAKING THE TIME TO VISIT MY BLOG.
YOUR COMMENTS AND ORDERS ARE ALWAYS APPRECIATED!
Receive a 5-card project tutorial from me when you place an order of $35 or more
during the month of February.
This tutorial set will not be featured on my blog — it’s an ordering exclusive
from me as a Thank You Gift
(Club orders do not qualify). Please use the host code below when placing your order.
CURRENT HOST CODE

Use this host code to place your online order with me.
If your order is over $150 DO NOT use the code,
you’ll get your own Stampin’ Rewards from Stampin’ Up!
Just copy and paste this code 7UU723TJ when placing your order.
FOLLOW ME….
Facebook: https://www.facebook.com/StampWithPeggy/
Pinterest: https://www.pinterest.com/peggymurwin/
YouTube: https://www.youtube.com/channel/UCzWMDTQVYAhveWgCr5g6FkQ