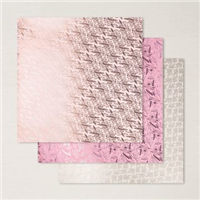
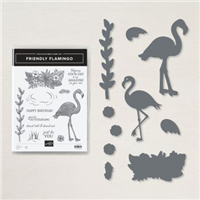
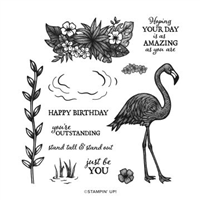
One of the favorites from the Spring Mini Catalog has been the True Love Designer Paper.
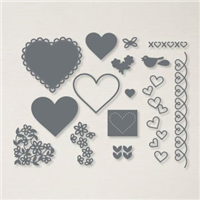
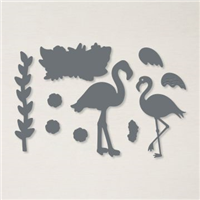
I added the Friendly Flamingo Dies for a fun pop of color.

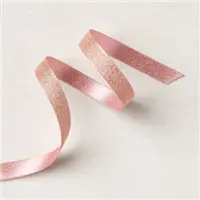
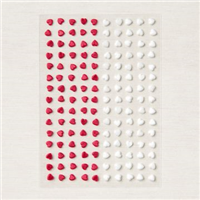
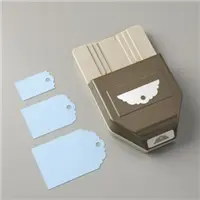
Here is the SUPPLY LIST for these projects.
Click on any of the products to go right to my
Stampin’ Up! store:


THANK YOU FOR VISITING MY BLOG.
I APPRECIATE YOU TAKING THE TIME.
YOUR COMMENTS AND ORDERS ARE ALWAYS APPRECIATED!
Receive a 4 card project tutorial from me when you place an order of $35 or more
during the month of February.
This tutorial set will not be featured on my blog — it’s an ordering exclusive
(Club orders do not qualify).
Please use the host code below when placing your order.
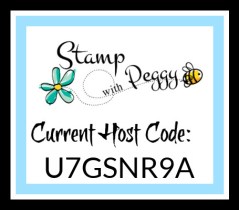
CURRENT HOST CODE
Use this host code to place your online order with me.
If your order is over $150 DO NOT use the code,
you’ll get your own Stampin’ Rewards from Stampin’ Up!
Just copy and paste this code U7GSNR9A when placing your order.
FOLLOW ME….
Facebook: https://www.facebook.com/StampWithPeggy/
Pinterest: https://www.pinterest.com/peggymurwin/
YouTube: https://www.youtube.com/channel/UCzWMDTQVYAhveWgCr5g6FkQ
Sign up for my Newsletter: Coming soon