Tonight is the big night.
Our Stampin' Sisters Retreat begins at 7:00 p.m.
What is Stampin' Sisters Retreat?
It is a weekend my sister, Tina, and I spend with
80 wonderful ladies. We design and prep projects
for them to work on all weekend long.
We say it's like stamp class on steroids.
Everyone always asks how long does it take you to prep.
Tina and I really hate to add up the hours but it is so much fun
we feel it is worth all the work.
Here's just a glimpse of the work and piles of stuff that
goes into this fun weekend.

This was just a little of the prep work Wednesday night.

Here's just a small portion of the boxes that are now loaded in my car.
Tina has a car full PLUS her husband, Dave, is kind enough to drive his
SUV filled to the top too.
This year we have 8 projects for them to complete.
Stay tuned over the weekend and we'll show you a little
of the fun these wonderful ladies are having.
Some of you may have noticed my new logo.
I am in the process of updating my blog look and had
this fun logo and signature designed for me.
When I held my Dragonfly Dreams class last month
I couldn't resist this card I saw on Pinterest — it fits
so well with my new logo.

I love the look of the fun dotted "bee" lines as he
buzzes around "beeing" creative.
I hope you'll continue "beeing" creative with me!!!

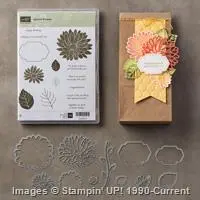
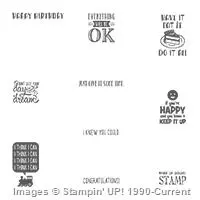
Card Supplies: