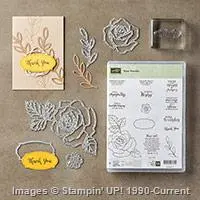
This is the final card we made at my Stamp of the Month Class
which featured the Rose Wonder stamp set.
The attendees could add the coordinating Rose Garden
thinlits to get the bundle price if they wanted to.
We used the Rose Garden thinlit on this card.
Thank you Jackie Bolhius for the inspiration for this card.
 We started with Shimmery White cardstock.
This cardstock is perfect for watercoloring and
helps give your projects a little sparkle and shine too.
I added a Basic Black mat — 3 7/8″ x 5 1/8″
Then another layer of Shimmery White — 3 3/4″ x 5″
I stamped the rose and leaves on the Shimmery White layer
with Archival Black ink — you want to use this ink
so it doesn’t smear when you watercolor the image.
Then I used my Aqua Painter and
Rose Red and Wild Wasabi inks to color in
the rose and leaves. I was able to get a bit of shading
on the rose with just the Rose Red ink but I did add
a little Garden Green to my leaves to darken a few
little areas.
Next I used the speckle stamp from
Gorgeous Grunge and the black ink to
lightly stamp a few flecks on the card.
Then I took a second piece of Black cardstock and
used the framelit to cut out the rose and leaves.
I used the Fine Tip Glue to attach this over the
stamped image. This little bit completely changes
the look of the rose and makes the outline bolder.
I used the label framelit from the Rose Garden thinlits
and Shimmery White cardstock to cut out the label.
I stamped Happy Birthday with the Black ink.
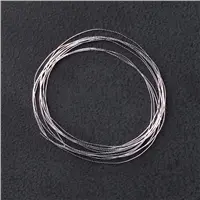
I used the Silver Thread and looped it a few times
and attached it to the back of the label with
dimensionals and attached to the front of the card.
I love the look of this card, don’t you?


Price: $6.50