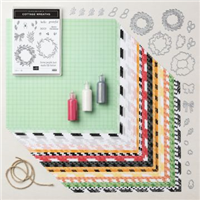
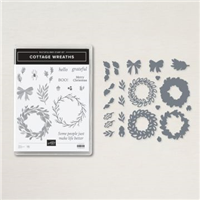
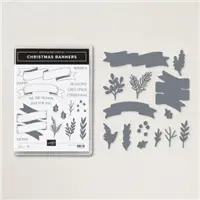
Today is a BIG day!! 24 Hour Sale & Weekly Deals #3
You can, but this offer is available for 24 hours only, on September 15th.

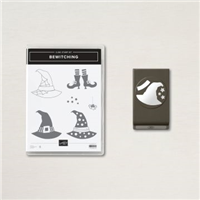
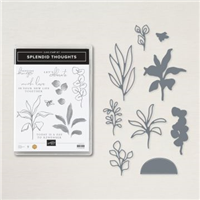
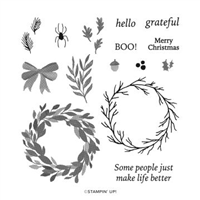
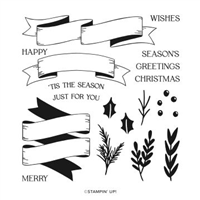
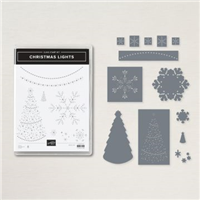
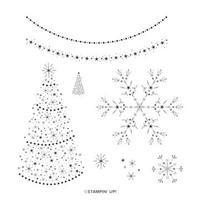
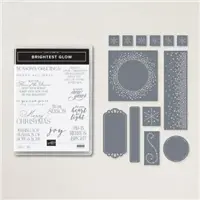
Click to View the Stamp Set List with Sale Prices
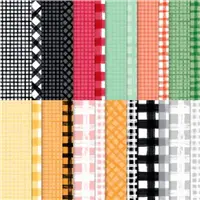
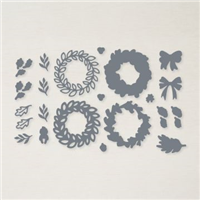
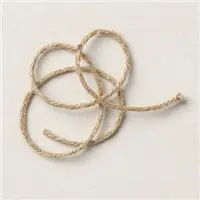
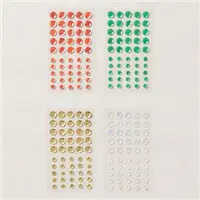
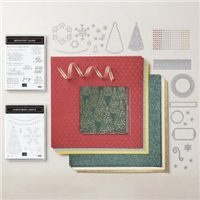
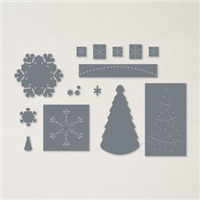
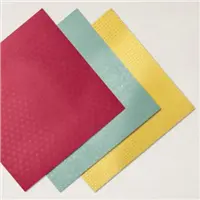
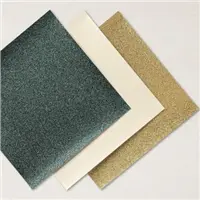
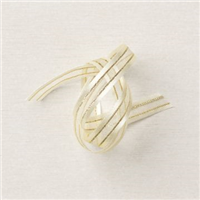
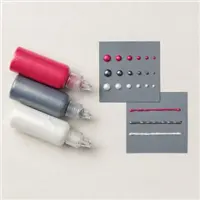
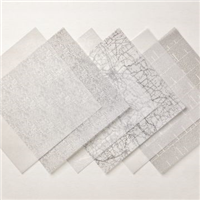
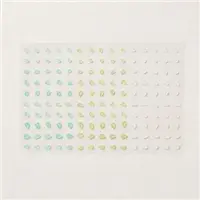
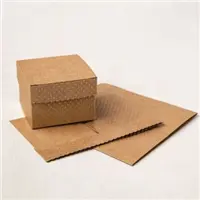
That means Sept 15 – 21 we have 11 new items to save on.

Click on any of the products to go right to my
Stampin’ Up! store:
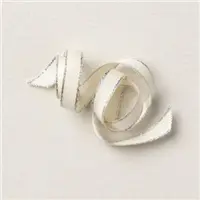
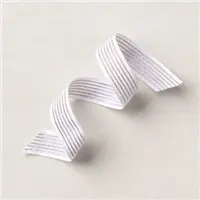
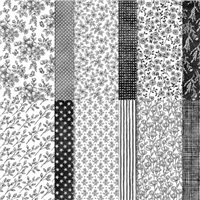
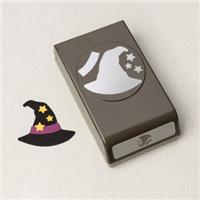
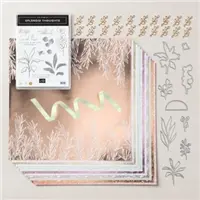
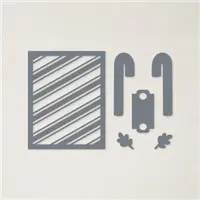
Sale: $9.60
Price: $12.00


I APPRECIATE YOU TAKING THE TIME TO VISIT MY BLOG.
YOUR COMMENTS AND ORDERS ARE ALWAYS APPRECIATED!
Receive a 5-card project tutorial from me when you place an order
of $35 or more during the month of September.
This tutorial set will not be featured on my blog — it’s an ordering exclusive
from me as a Thank You Gift (Club orders do not qualify).
Please use the host code below when placing your order.
CURRENT HOST CODE

Use this host code to place your online order with me.
If your order is over $150 DO NOT use the code,
you’ll get your own Stampin’ Rewards from Stampin’ Up!
Just copy and paste this code KSYCB6TG when placing your order.
FOLLOW ME….
Facebook: https://www.facebook.com/StampWithPeggy/
Pinterest: https://www.pinterest.com/peggymurwin/
YouTube: https://www.youtube.com/channel/UCzWMDTQVYAhveWgCr5g6FkQ