Did you know that Wonderful People Do Wonderful Things!!
Today’s post is a bit different — it’s still about stamping and card making
but it’s not about me showing you something I created.
Instead, it’s about the wonderful stamping one of my customers does.
Diane comes to some of my classes, she sits pretty quiet stamping away,
chatting with some of the ladies at class. She doesn’t talk about what she’s been doing —
I had NO IDEA that at home she is busy stamping away making dozens of cards
each month that she takes to a local nursing home.
Thank goodness she sent me a link to a fabulous article that our local newspaper wrote about Diane.
I asked her if I could share this with all of my stampers.
I am so proud of what she is doing and am so happy that in a little way I have shared some
stamping ideas with her. I will definitely be sharing some of my extra cards for her to use.
Enjoy the article — Just Click Here to Read all About Diane’s Project
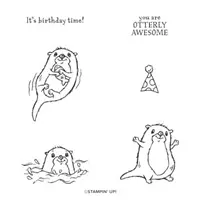
Diane — this card is for you – the greeting says it all!!

Measurements:
- Thick Basic White – 5 1/2” x 8 1/2” — score at 4 1/4”
- Basic White – 3 1/4″ x 4 1/2”
- Basic Black – 3 3/8” x 4 5/8”
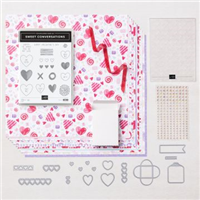
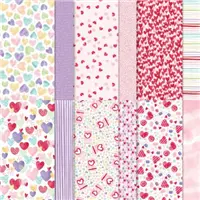
- Designer Series Paper – 4” x 5 1/4” (Highland Heather with words); heart pattern
Instructions:
- Fold Thick Basic White on the score card base
- Adhere Designer Series Paper to card front
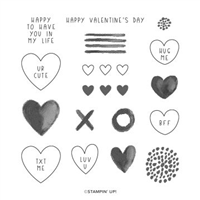
- Stamp the heart images randomly with Highland Heather and Fresh Freesia ink on 3 1/4″ x
4 1/2″ Basic White - Stamp the sentiment in Tuxedo Black over the hearts
- Adhere to Basic Black – attach to card front with Stampin’ Dimensionals
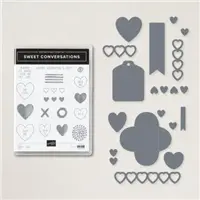
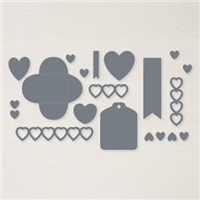
- Die Cut two hearts from Designer Series Paper
- Attach hearts to card front with Stampin’ Dimensionals
I would LOVE to hear some of the WONDERFUL things that you do.
Please email and share your stories.
I know that you are doing amazing things with this fabulous thing we do.
Here is the SUPPLY LIST for this project.
Click on any of the products to go right to my
Stampin’ Up! store:


I APPRECIATE YOU TAKING THE TIME.
YOUR COMMENTS AND ORDERS ARE ALWAYS APPRECIATED!
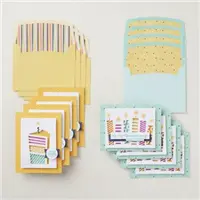
Receive a 5-card project tutorial from me when you place an order of $35 or more
during the month of January.
This tutorial set will not be featured on my blog — it’s an ordering exclusive
(Club orders do not qualify). Please use the host code below when placing your order.
CURRENT HOST CODE

Use this host code to place your online order with me.
If your order is over $150 DO NOT use the code,
you’ll get your own Stampin’ Rewards from Stampin’ Up!
Just copy and paste this code 74SEEDDQ when placing your order.
FOLLOW ME….
Facebook: https://www.facebook.com/StampWithPeggy/
Pinterest: https://www.pinterest.com/peggymurwin/
YouTube: https://www.youtube.com/channel/UCzWMDTQVYAhveWgCr5g6FkQ