Today is a BIG Day!!!
Who Likes a SALE?
Stampin’ Up! has added lots of goodies to the Clearance Rack TODAY!!
There are some big discounts – up to 60% off some items.
.

Click Here to Shop the Clearance Rack
WAIT — there’s more!!!

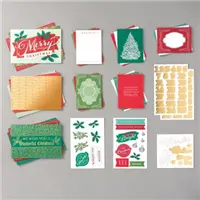
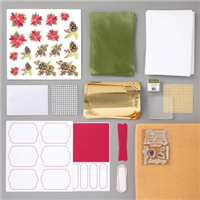
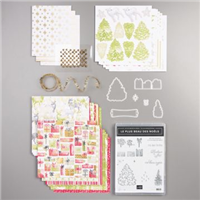
Today is also the release of a brand new kit called Love, Santa Kit.
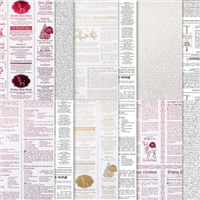
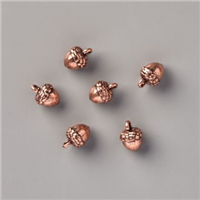
The Love, Santa Tag Kit has everything you need to create 12 whimsically designed tags.
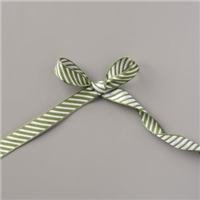
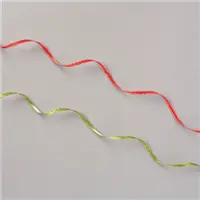
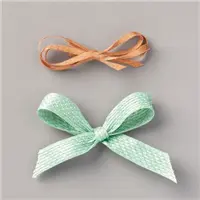
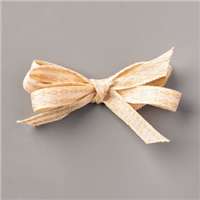
You’ll find printed die-cut tags and labels, sequin embellishments, pink and white baker’s twine,
an exclusive stamp set, a Night of Navy Classic Stampin’ Spot,
and more in this all-inclusive kit.
To make Christmas gift giving even easier, the Love, Santa Treat Bags (available for purchase separately)
are food-safe cellophane bags that coordinate with the Love, Santa tags!
The treat bags come in a pack of 12—3 each of 4 festive designs.
No more worrying how to make your gifts look great this year
But don’t relax too soon as these products are based on availability!
Go online NOW to order before they are gone.
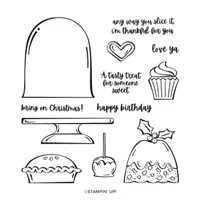
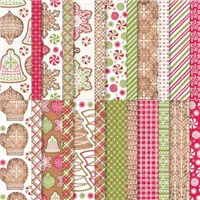
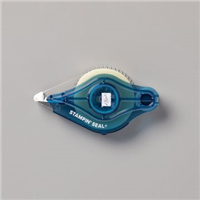
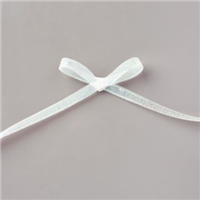
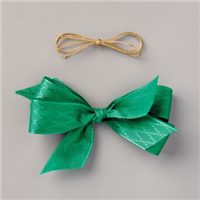
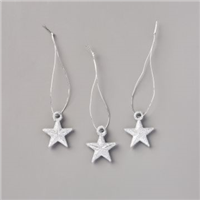
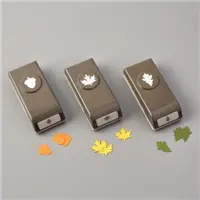
Here is the SUPPLY LIST for this project.
Click on any of the products to go right to my
Stampin’ Up! store:

THANK YOU FOR VISITING MY BLOG.
I APPRECIATE YOU TAKING THE TIME.
YOUR COMMENTS AND ORDERS ARE ALWAYS APPRECIATED!
Receive a 4 card project tutorial from me when you place an order of $35 or more
during the month of October.
This tutorial set will not be featured on my blog — it’s an ordering exclusive
(Club orders do not qualify).
Please use the host code below when placing your order.
CURRENT HOST CODE

Use this host code to place your online order with me.
If your order is over $150 DO NOT use the code,
you’ll get your own Stampin’ Rewards from Stampin’ Up!
Just copy and paste this code J2SFP94E when placing your order.
FOLLOW ME….
Facebook: https://www.facebook.com/StampWithPeggy/
Pinterest:https://www.pinterest.com/peggymurwin/
YouTube: https://www.youtube.com/channel/UCzWMDTQVYAhveWgCr5g6FkQ