Fall Fest Project 2

I’m back with Fall Fest Project 2!!
This card set covers Halloween, Fall/Thanksgiving, Christmas and Winter.

Sparkle of the Season Bundle, Pansy Petal Designer Paper, Halloween, Fall, Christmas, Winter, Fall Fest, Stamp with Peggy


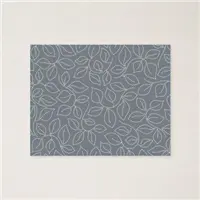
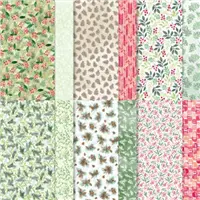
I used the Pansy Petals Designer Paper on each of the cards.

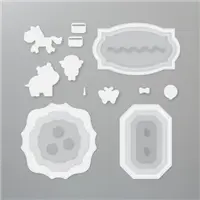
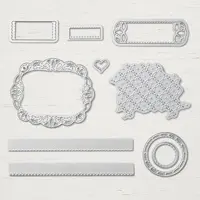
The Detailed Borders Die added a fun point and some stitched details.

There was lots of die cutting done for these cards — Yikes!!

Everyone received a roll of the Black & White Gingham Ribbon and
the table shared the Subtle Shimmer Sequins.
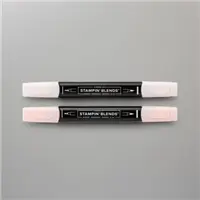
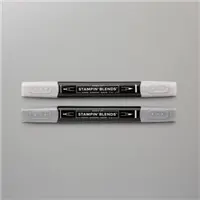
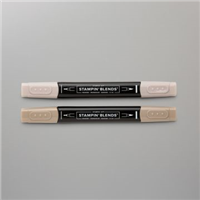
The ribbon was colored with Stampin’ Blends to coordinate each card.


Sparkle of the Season Bundle, Pansy Petal Designer Paper, Detailed Borders Die, Black & White Gingham Ribbon, Halloween, Fall, Christmas, Winter, Fall Fest, Stamp with Peggy
I love the details on this card — bats, stars, pumpkins and even a broom.
The ribbon was colored with Dark Pumpkin Pie Stampin’ Blend.


Sparkle of the Season Bundle, Pansy Petal Designer Paper, Detailed Borders Die, Black & White Gingham Ribbon, Halloween, Fall, Christmas, Winter, Fall Fest, Stamp with Peggy
Look at all the leaves falling — I cut the wreath out in four different colors.
Early Espresso was the wreath base and then we snipped the leaves of the other three colors
and glued them back on to the Early Espresso wreath.
This time the ribbon was colored with Dark Daffodil Delight Stampin’ Blends.


Sparkle of the Season Bundle, Pansy Petal Designer Paper, Detailed Borders Die, Black & White Gingham Ribbon, Halloween, Fall, Christmas, Winter, Fall Fest, Stamp with Peggy
The wreath needed to be fuller for this card, so I cut it out twice from Evening Evergreen cardstock.
Then I cut out a third wreath from Soft Succulent and cut the leaves off and glued them
back on the Evening Evergreen wreath.
We added Red Rhinestones for holly berries — LOVE IT!!
The ribbon was colored with Dark Soft Succulent Stampin’ Blends.

Sparkle of the Season Bundle, Pansy Petal Designer Paper, Detailed Borders Die, Black & White Gingham Ribbon, Halloween, Fall, Christmas, Winter, Fall Fest, Stamp with Peggy
And we finish off with a card for Winter.

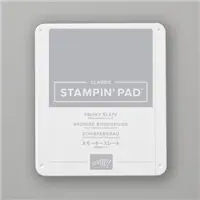
Fresh Freesia and Smoky Slate worked well for these wonderful snowflakes.
We added the Subtle Shimmer Sequins to the center of the snowflakes on the wreath.
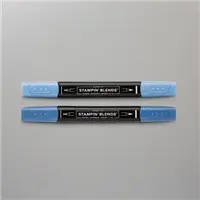
We colored the ribbon with Dark Fresh Freesia.

If you missed Project 1, just click here to see the Gorgeous Leaves card set.

Here is the SUPPLY LIST for this project.
Click on any of the products to go right to my
Stampin’ Up! store:



I APPRECIATE YOU TAKING THE TIME.

YOUR COMMENTS AND ORDERS ARE ALWAYS APPRECIATED!

Receive a 5 card project tutorial from me when you place an order of $35 or more
during the month of October.
This tutorial set will not be featured on my blog — it’s an ordering exclusive
(Club orders do not qualify).

Please use the host code below when placing your order.

CURRENT HOST CODE


Host Code, Stamp with Peggy


Use this host code to place your online order with me.

If your order is over $150 DO NOT use the code,
you’ll get your own Stampin’ Rewards from Stampin’ Up!
Just copy and paste this code J2SFP94E when placing your order.

FOLLOW ME….

Facebook: https://www.facebook.com/StampWithPeggy/
Pinterest:https://www.pinterest.com/peggymurwin/
YouTube:  https://www.youtube.com/channel/UCzWMDTQVYAhveWgCr5g6FkQ

Share this!

24 Hour Stamp Sale

24 Hour Stamp Sale, Stamp with Peggy


Do you love a sale as much as I do?
Well, guess what — TODAY only is a 24 Hour Stamp Sale — SAVE 15% off 74 Cling Stamp Sets

That’s right — TODAY is your lucky day!
Wednesday, October 20, Stampin’ Up! is hosting a 24-Hour Stamp Sale, and I am so excited!!
There are 74 Cling Stamp Sets for you to choose from — that’s a lot of choices
and many of them are my FAVORITES!!

The sale runs from 12:01am (Mountain Time) until 11:50PM (Mountain Time).


Click the link below to print a list of the stamp set with the page numbers from the Annual Catalog.

24 Hour Stamp Sale Flyer


Peaceful Moments is a MUST have set.
Elegant Evergreen is a FABULOUS set to have for your Christmas Cards.

Check out this link to a card I made last month.


Click on any of the products to go right to my
Stampin’ Up! store – sale prices are not reflected in the picture
but will apply to your orders place WEDNESDAY, OCTOBER 20TH


THANK YOU FOR VISITING MY BLOG.
I APPRECIATE YOU TAKING THE TIME.
YOUR COMMENTS AND ORDERS ARE ALWAYS APPRECIATED!

Receive a 4 card project tutorial from me when you place an order of $35 or more
during the month of October.
This tutorial set will not be featured on my blog — it’s an ordering exclusive
(Club orders do not qualify).

Please use the host code below when placing your order.

CURRENT HOST CODE


Host Code, Stamp with Peggy

Use this host code to place your online order with me.
If your order is over $150 DO NOT use the code,
you’ll get your own Stampin’ Rewards from Stampin’ Up!
Just copy and paste this code J2SFP94E when placing your order.

FOLLOW ME….

Facebook: https://www.facebook.com/StampWithPeggy/
Pinterest:https://www.pinterest.com/peggymurwin/
YouTube:  https://www.youtube.com/channel/UCzWMDTQVYAhveWgCr5g6FkQ

Share this!

Candy Cane One Sheet Wonder

Last night’s Facebook Live was a Candy Cane One Sheet Wonder!!
I LOVE doing One Sheet Wonders and they are the perfect solution to getting those Christmas cards done.

Candy Canes Stamp, Wintry 3D Embossing Folder, One Sheet Wonder, Christmas, Stamp with Peggy


We used the Candy Canes Background Stamp to create our own Designer Paper.
Then I found a template Pinterest and made a couple of little tweaks to it.

We started with a piece of Basic White cardstock — 5″ x 6″.
We used the Stamparatus to stamp the Candy Canes with Real Red ink.
Then we used the Paper Trimmer to cut the paper down to 4 1/4″ x 5 1/2″.

Next we used the template to cut the pieces for the cards.

Candy Canes Stamp, Wintry 3D Embossing Folder, One Sheet Wonder, Christmas, Stamp with Peggy
These pieces were set aside for now.
Next we used 2 pieces of Real Red cardstock that we scored at 4 1/4″, then cut in half at 5 1/2″.
This created 4 card bases that are 5 1/2″ x 8 1/2″.
Next we cut a piece of Basic White into 4 pieces that are 4″ x 5 1/4″.
One sheet each of Real Red and Old Olive for the layers and scraps of Basic White for the greetings.

Candy Canes Stamp, Wintry 3D Embossing Folder, One Sheet Wonder, Christmas, Stamp with Peggy

The pictures don’t show the detail of the Wintry 3D Embossing Folders.
This first card is the Snowflake folder — it is so pretty.

Candy Canes Stamp, Wintry 3D Embossing Folder, One Sheet Wonder, Christmas, Stamp with Peggy

The Pine Greenery folder is perfect for hanging all those candy canes on.


Candy Canes Stamp, Wintry 3D Embossing Folder, One Sheet Wonder, Christmas, Stamp with Peggy

Candy Canes Stamp, Wintry 3D Embossing Folder, One Sheet Wonder, Christmas, Stamp with Peggy

Click Here To Watch the Video

Here is the SUPPLY LIST for this project.
Click on any of the products to go right to my
Stampin’ Up! store:

I APPRECIATE YOU TAKING THE TIME.
YOUR COMMENTS AND ORDERS ARE ALWAYS APPRECIATED!

Receive a 4 card project tutorial from me when you place an order of $35 or more
during the month of October.
This tutorial set will not be featured on my blog — it’s an ordering exclusive
(Club orders do not qualify).

Please use the host code below when placing your order.

CURRENT HOST CODE


Host Code, Stamp with Peggy


Use this host code to place your online order with me.

If your order is over $150 DO NOT use the code,
you’ll get your own Stampin’ Rewards from Stampin’ Up!
Just copy and paste this code J2SFP94E when placing your order.

FOLLOW ME….

Facebook: https://www.facebook.com/StampWithPeggy/
Pinterest:https://www.pinterest.com/peggymurwin/
YouTube:  https://www.youtube.com/channel/UCzWMDTQVYAhveWgCr5g6FkQ

Share this!