High Tide Sunset

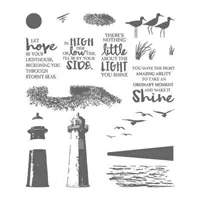
Oh my goodness, this card was so much fun to make.  I saw these sunsets all over Pinterest using the High Tide stamp set and I knew that I had to make one of these.  It looks intimidating but it really isn't. 
High Tide SunsetTips:
1. I started with Whisper White cardstock — 3 7/8" x 5 1/8"
a. I stamped the light house on a sticky note and cut it out
b. I stamped the light house on the Whisper White cardstock with Memento ink and Cherry Cobbler ink
c. place the sticky note house over the Cherry Cobbler house
d. place a whole sticky note over the bottom portion of the cardstock
e. punch a piece of sticky note with 3/4" Circle Punch — place upper right for the moon
f. use a piece of sponge with So Saffron ink and lightly rub over the top portion of the card
g. do same thing with Crushed Curry ink darkening up a very spots here and there
h.  now use Watermelon Wonder ink and very light sponge a few spots (I rubbed off on scratch paper first so it wouldn't get too dark)
h. last sponge Perfect Plum ink around outer edges
i. Remove all sticky notes — don't throw them away yet
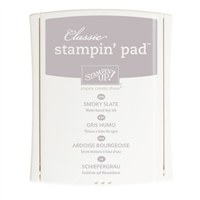
j. stamp rocks with Smoky Slate ink
k. stamp rocks again over Smoky Slate with VersaMark ink and heat emboss with Clear Embossing Powder
l. Place full sticky note over the top portion of the card and cover light house too
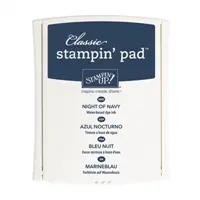
m.  use sponge and Night of Navy to fill in bottom portion for the water
n.  sponge Perfect Plum over this
o.  use a tissue or paper towel to wipe over the rocks to remove any ink sitting on top
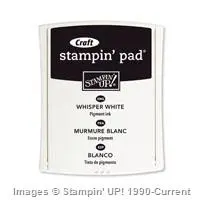
p.  use White Craft ink to stamp the waves over the water
    q. remove all sticky notes — tear the full sticky note to create little mountains
r. lay this half over water and sky and sponge with Perfect Plum ink right at top of sticky note
s. remove sticky note — viola, you have a mountain range
t. stamp flock of birds and the greeting with Memento

There are a lot of steps but once you get the hang of it, it is so much fun.
I can't wait to make a bunch of these.

SUPPLIES:
Share this!

High Tide — Just No Words

Do you ever have those times when you hear something happened and you just don't know what to say to the person involved?  This card is perfect — For Some Things There are Just No Words!!  You can let that affected person know that you care and are there for them but truly there aren't many words that haven't been said before to help through the situation.

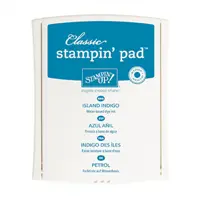
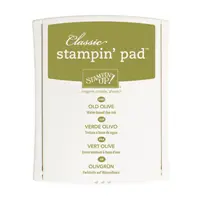
I again took this card idea from my sister, Tina.  I loved the Island Indigo and Old Olive color combination.  We added some waves with the Seaside embossing Folder, a little bit of land for the light house to sit on and plenty of waves surrounding the light house and don't forget some birds flying past.  I actually cut my bird stamp into two pieces so I could stamp birds into a smaller area than the original stamp.  I can still use both pieces together to create the longer flock of birds.
High Tide
Color Combo:


SUPPLIES:

Share this!

Thank You So Very Much

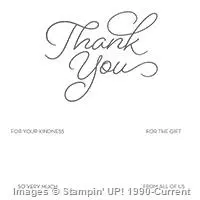
As we come to the final days of Sale-a-Bration I want to share some of the great items that are still available for you to choose.  Today’s card actually features two items — So Very Much stamp set and the Succulent Gardens designer paper.  My sister, Tina, designed this card for an event she held this past week and I love the simplicity and highlighting both of these items so I made one little change and we stamped this card at my Team Meeting Thursday night.
Succulent Thank You
Tips:
1. Card base is Mint Macaron
2. Layer of Smoky Slate
3. Layer of Succulent Garden designer paper — you can purchase this designer paper for $11 or choose it as your Sale-a-Bration choice FREE
4. Stamp “Thank You” and “so very much” with Smoky Slate ink — the So Very Much stamp set is also a Sale-a-Bration item you can choose FREE
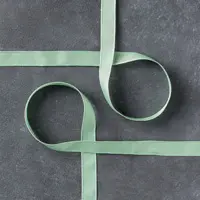
5.  Attach a piece of the Mint Macaron Sheer Linen Ribbon to back of designer paper
6.  Tie a bow with ribbon and attach with a Glue Dot

I love how simple but beautiful this card is.

SUPPLIES:

Share this!