Holly Berry Wreath

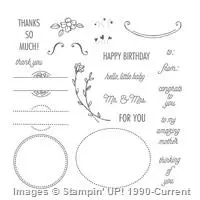
I finally pulled out the Holly Berry Happiness stamp set and coordinating Holly Berry Builder Punch to play with.  This stamp set was my Stamp of the Month Class for November.  Everyone was very surprised with their results — they were very glad this is the stamp set we used.
Holly Berry Wreath
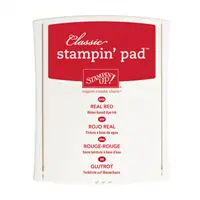
The first card I made I used the holly leaves to create a wreath — I saw this idea online and loved the look achieved.  I stamped the leaf outline with Garden Green ink and the inside of each leave is stamped with Old Olive ink, then stamp the cute little berries with Real Red ink.
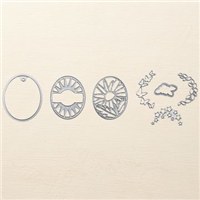
I stamped the bow outline with Memento ink and the inside is Real Red.  Punch out the bow with the Holly Berry Builder Punch.

I added another layer for the greeting with Memento ink. 
Check it out — we decorated the inside too:
Holly Berry Wreath Inside
I am very happy with the way this card turned out.  It is all set for names being signed and it all put in the mail to a loved one in just a couple of short weeks.

Here's a little sneak peek…..
Online Banner
Mark your calendar now — November 21 – 27!!! 
I don't have details yet — I'll post it as soon as I have it but you won't want to miss out.

Share this!

Tin of Tags & Better Together

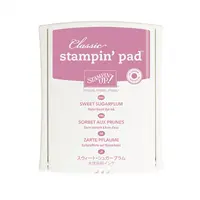
Have you tried the Fancy Frost specialty designer paper in the Holiday Catalog yet.  Oh my goodness, it is amazing.  It is beautiful to use just as it is — it gives you a wonderful texture for your cards.  Another fun way to use it, is to color it with sponges or sponge dauber.  Check out today’s wonderful card.  We colored the Fancy Frost designer paper with Sweet Sugarplum ink.
Tin of Tags
Card Directions:
1. Rich Razzleberry — 4 1/4″ x 5 1/2″
2. Sweet Sugarplum — 5 1/4″ x 8″ — score at 4″ — this layer is your card base — attach it to the Rich Razzlberry piece — stamp Merry Christmas from Better Together stamp set with Sweet Sugarplum ink
3. Fancy Frost designer paper — 3 3/4″ x 3 3/4″ — sponge with Sweet Sugarplum ink
4. Whisper White — stamp snowflake from Tin of Tags stamp set (on sale 25% off) with Sweet Sugarplum ink — punch out with 2″ Circle Punch — or prettier yet, cut it out with the Stitched Shapes framelits.
5.  Smoky Slate — cut out ornament top using the Merry Tags framelits
6.  Tie a piece of Sweet Sugarplum Glitter Ribbon to ornament top
7.  Add a Rhinestone in center of snowflake

Don’t forget to order your sale stamp sets — only 2 weeks left to get them at 25% discount!!!!

Share this!

Star of Light in Heaven

What kind of Christmas cards do you make — fun & silly or serious, religious?
I like to make some of each.  The Star of Light stamp set in this year’s Holiday Catalog fit my serious/religious cards this year.  It is a beautiful, elegant stamp set — the greetings say it all!!!
Here is another swap card I received at our last demo make & take (I apologize — there was no name on the card to give credit to).  I love the Night of Navy and Whisper White.  The White Embossing Powder makes it pop.

Star of Light
The creator used Gold Foil Sheet for the large background star with a Whisper White cut out star (both were cut using the coordinating Starlight Thinlits).  I think this would also be pretty with a Silver Foil star in the background.  I love the addition of the three tiny pearls in the lower left corner.  It adds to the spattering of stars.

The inside says is “Became the Light of the World”.  I think this phrase is wonderful and reminds us all of what Christmas is all about.

Share this!