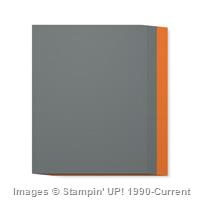
I love the colors of Halloween — Black, Grey and Orange (or better yet Pumpkin Pie). Today’s card covers all that with a little cute and a little scary.
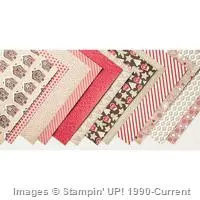
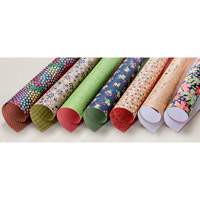
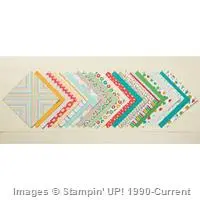
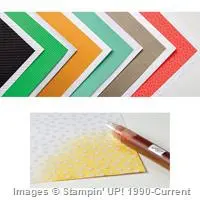
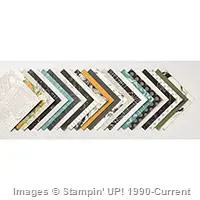
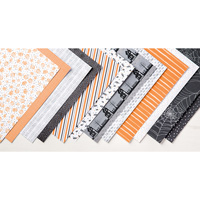
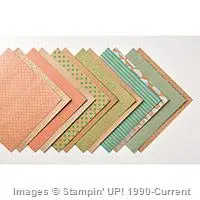
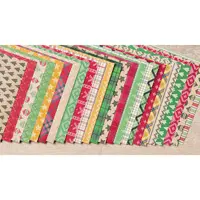
The main focus is the fabulous Halloween Night designer paper.
Then I pulled the Spooky Fun stamp set and a bit of Halloween Night Baker’s Twine and a couple of the fun Halloween Night Enamel Dots and viola — your card is finished.

Card Directions:
1. Card Base — 5 1/2″ x 8 1/2″
2. Basic Grey – 4″ x 5 1/4″
stamp spider web all over with Basic Grey ink stamped off
3. Halloween Nights designer paper
a. Black Dots – 1 1/2″ x 4″
b. Orange Diagonal Stripe – 1 1/4″ x 3 3/4″
c. Orange checked – 1 1/4″ x 3 3/4″
All three designer papers are punched with the Triple Banner Punch
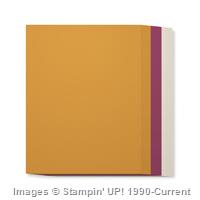
4. Basic Black scraps — use Layering Circles Framelits
5. Pumpkin Pie scraps — use Layering Circles Framelits
6. Whisper White scraps — use Layering Circles Framelits
7. Wrap Baker’s Twine around Basic Grey piece twice, knot and tie in a bow
8. Add two Halloween Night Enamel Dots
Mummy Halloween
Your Halloween cards can be fun and happy
or creepy and scary.
Today’s card has some creepy to it but the Pumpkin Pie colors
bring it back into a happier feel.
I used the Cookie Cutter Halloween stamp set,
Ghoulish Grunge stamp set and Timeless Textures stamp set
to give all the different dimensions to this card.

Card Directions:
1. Card Base — Basic Black — 5 1/2″ x 8 1/2″
2. Pumpkin Pie — 4″ x 5 1/4″
3. Whisper White — 3 3/4″ x 5″
4. Halloween Nights designer paper
a. Orange check — 1 1/2″ x 4 — punch with Triple Banner punch
b. Black dot — 1″ x 4″ — punch with Triple Banner punch
5. Black — Layering Circles framelits
6. Whisper White — Layering Circles framelits
a. stamp dots from Timeless Textures with Old Olive ink
7. Lay circle on White background and stamp Old Olive dots scattered.
8. With Pumpkin Pie ink, stamp mesh stamp from Ghoulish Grunge
9. Stamp spiders from Jar of Haunts with Black ink
10. Stamp Happy Halloween in upper right corner with Black ink
11. Watercolor Paper — stamp Mummy with Black ink
a. stamp gauze stamp with Smoky Slate ink over the mummy to fill in white spaces
I can’t wait to make more of these Halloween cards for my grandkids.
b. Cut out Mummy jar with Everyday Jars framelits
Sending Comfort with Paisleys
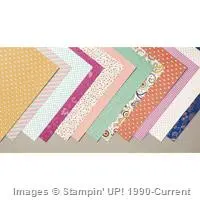
Here’s a wonderful non-fall card using the Paisleys & Posies stamp set and the Petals & Paisleys designer paper. The Rich Razzleberry and Sweet Sugarplum color combination along with the doily give this card a soft, caring feel. I also added a Copper Foil banner.
Card Directions:
1. Card Base — Rich Razzleberry — 4 1/4″ x 11″
2. Copper Foil Paper — cut out largest banner from the Banners framelits
3. Petals & Paisleys designer paper — cut out the second largest framelit
4. Sweet Sugarplum — cut out scallop oval using the Layering Ovals framelits — they are ON SALE through Sept. 21st.
5. Very Vanilla — cut out oval using the Layering Ovals
stamp words from Suite Seasons stamp set with Rich Razzleberry ink
stamp flower from Paisleys & Posies with Rich Razzleberry ink
This card leaves me with a warm, cozy feeling that someone care.