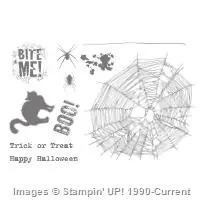
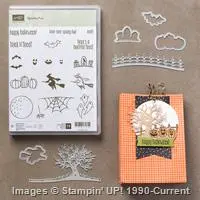
Today I’m sharing one of my Halloween cards from an event we held this past weekend. I am falling in love with these Halloween stamp sets.
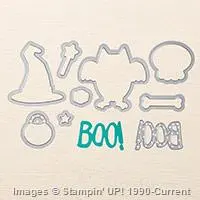
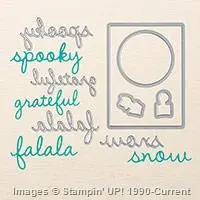
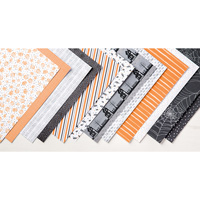
Today I used Spooky Fun and the Halloween Nights designer paper.
Such great small images in this stamp set and there is a coordinating framelit set — Happy Scenes.

Card Directions:
1. Card Base — Black — 4 1/4″ x 5 1/2″
2. Basic Grey – 4″ x 5 1/4″
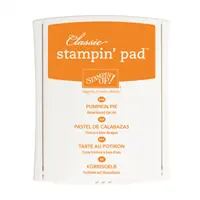
3. Pumpkin Pie — 3 3/4″ x 5″
(I told you I love this color combo)
4. Black — 3″ x 3″
5. Basic Grey — 2 3/4″ x 2 3/4″
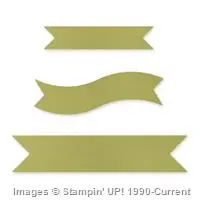
6. Halloween Night — 1 1/2″ x 5 1/4″
punch one end with Triple Banner Punch
attach to Black strip below
7. Black — 1 5/8″ x 5 3/8″
trim banner end 1/8″ longer than designer paper banner.
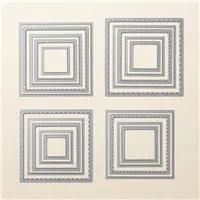
8. Black — cut out with Layering Squares – scallop
9. Basic Grey — 2 1/4″ x 2 1/4″
10. Whisper White — 2″ x 2″
stamp “Happy Halloween” with Memento ink
stamp pumpkins with Pumpkin Pie ink
stamp assorted bats with Memento ink


Oh My Goodness.
Stampin’ Up! just added a BUNCH of stuff to the Clearance Rack and many items are up to 60% off.
It’s a great time to get some of those items that you didn’t get before they retired — stamp sets, cardstock, designer paper, punches, dies & embellishments. You have to check this out.