Time of Year

One last Christmas card (for now anyway).
I saw this double z-fold card and knew I had to do it.
I really like different folds and this one is great.

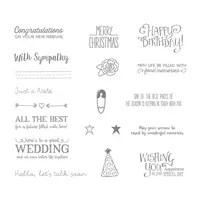
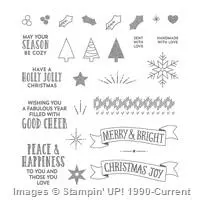
I used the Thinking of You Hostess stamp set
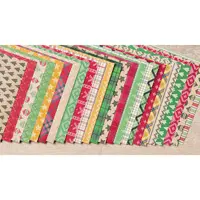
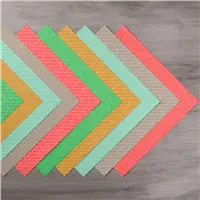
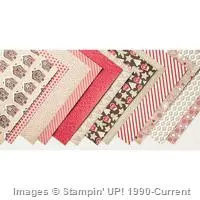
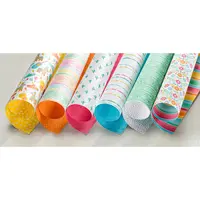
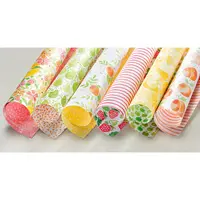
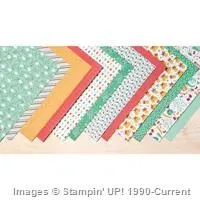
and the This Christmas Special Designer Paper.
Time of YearHere it is opened up.
Time of Year Open
It's hard to get the full image in a picture but you have to
give this fold a try.

1.  Card base — Cherry Cobbler — 5 1/2" x 8 1/2"
Score at 2 1/8" & 4 1/4"
2. This Christmas Specialty Designer Paper:
Green piece — 2" x 5 3/8"
3.  Garden Green layer on right side – 4 1/8" x 5 3/8"
4. This Christmas Specialty Designer Paper:
Vanilla piece — 4" x 5 1/4"
5. Garden Green (second z-fold) – 3 3/4" x 10 1/8"
Score 3 3/8" & 6 3/4"
6.  Very Vanilla (two pieces — one inside & one outside):
3 1/8" x 3 1/2"
7. Cherry Cobbler (under front Vanilla) – 3 1/4" x 3 5/8"
8. Scrap Very Vanilla for Christmas banner

Share this!

Thoughtful Branches

Stampin' Up! has an exclusive stamp set, Thoughtful Branches, and framelit bundle that will be available only during the month of August. I don't usually promote these special stamp sets this early but fellow demonstrator, Dena Rekow, showed a card that other day that I fell in love with. I had to make my version of her fabulous card. So place your orders this month and earn those $5 coupons that you can use on this amazing bundle.
Thoughtful Branches

1. Card base — Sahara Sand 5 1/2" x 8 1/2" 2. Cherry Cobbler – 4" x 5 1/4" 3. Sahara Sand – 3 7/8" x 5 1/8" 4. Stamp snow lines with VersaMark, heat emboss with White Embossing Powder 5. Stamp trees with Sahara Sand ink 6. Stamp big tree needles with VersaMark ink and heat emboss with White Embossing Powder 7. Stamp bird with Cherry Cobbler ink and cut out with framelits 8. Stamp greet from Reason for the Season with Cherry Cobbler ink 9. Use Clear Wink of Stella On the small group of trees 10. Attach bird with glue dot 11. Tie small bow with Twine and attach with glue dot I can't link the stamp set yet because it's not available but you ARE GOING TO WANT this bundle — I promise, so mark your calendar now for August 2 and keep collecting those BONUS DAYS coupon codes.

Share this!

Swirly Scribbles Snowman

As I was flipping through Pinterest one day I came
across a snowman card made by Jessica using the Swirly Scribbles Thinlits,
so I had to give a try myself and it was perfect for my
Christmas in July Fast & Fabulous Cards Class.

I also used the Snow Places stamp set & Snow Friends framelits
(which was one of my favorite sets last year and YAY it's in the catalog again this year).
Swirly Scibbles Snowman1.  Card base — Garden Green — 4 1/4" x 11"
2.  Wild Wasabi — 4" x 5 1/4"
3.  Real Red — 3 3/4" x 5"
4.  This Christmas Specialty Designer Paper – 3 5/8" x 4 7/8"
5.  Real Red scrap — cut out banner using the Project Life Cards & Labels Framelits
I cut the banner out and then ran it through again to make the banner a little shorter.
Stamp Merry Christmas from Snow Places with Memento ink.
6. Whisper White scrap — stamp scarf from Snow Places with Real Red ink
Cut out using the Snow Friends framelits.
7.  Black scrap — cut out the top hat using the Snow Friends framelits.
8.  Whisper White — 3 1/2" x 8 1/2" — cut out all three swirlies from Swirly Scribbles thinlits.
9.  Assemble card as pictures.

Thank you Jessica for the inspiration.

Share this!