Tuesday night was my Scrap & Go Hostess Class.
I love to make pages to coordinate throughout the year
and this month we made February pages — great for
Valentine’s Day pictures but also just cute backgrounds
for any pictures of loved ones.
Here’s the first page.
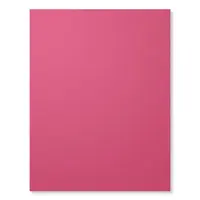
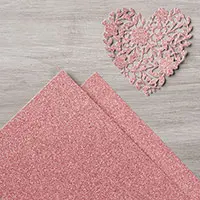
 The base of the page is 12″ x 12″ Blushing Bride cardstock.
I added an 8 1/2″ x 11″ Basic Black and then
8″ x 10 1/2″ of Whisper White.
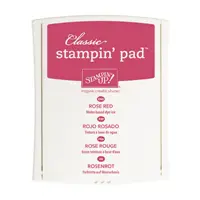
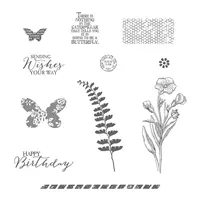
I used the Bloomin’ Love stamp set to stamp
the flowery heart with Rose Red ink.
Also the little open hearts and the “love is in the air” at
the top of the page. I punched out a bunch of hearts
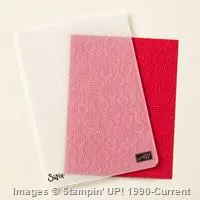
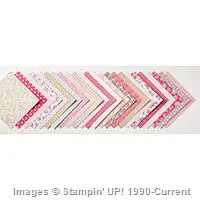
from Blushing Bride Glimmer Paper, Love Blossoms designer paper
and Rose Red cardstock using the Sweetheart Punch.
I added some Black Baker’s Twine for “heart balloon” strings and
a bow for hold the bouquet together.
Here’s page two:

Everyone was very pleased with their pages.
I can’t wait to take pictures of my grand kids this weekend
to add to the pages.
You gotta love the memories — print those pictures out.
You just never know when our technology items will break
and there goes all your pictures. Don’t let that happen!!!


Check out this week’s WEEKLY DEALS!!!
Reminder that Easter is just over 6 weeks away.
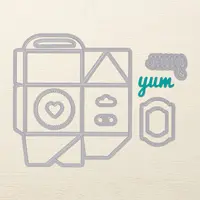
The Baker’s Box would be great for some Easter treats.
That give you enough time to order the Thinlit Dies and make
a bunch of Easter treat holders for all your family & friends.


Built for Free Using: My Stampin Blog