Black Friday Done — On to Cyber Monday!!!!

Wow — those couple of days went by quickly.  Do you go out Black Friday shopping?  I did!!!  I went with my daughter.  We left her house at 5:30 a.m. — well, technically we left at 10:30 p.m. Thursday night — she had a MUST HAVE item that was selling out at most stores.  One store showed limited stock so we took off to get the item.  When we arrived at the store the item was all gone — we went to the store next door and WOOHOO she got what she needed (thank goodness — can’t spoil those Christmas beliefs you know).  We were back to her house by midnight for a quick nap and then “really” left for Black Friday shopping at 5:30 a.m. — we spent the morning and early afternoon together arriving back to her house around 2:00 p.m.  We both scored a few good purchases and saved some money and had a lot of good laughs together.  She’s always gets a goofy picture – not quite Santa but it worked for her.

.Black Friday Shopping


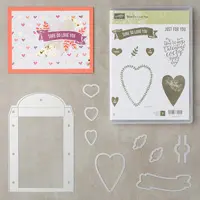
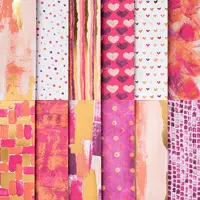
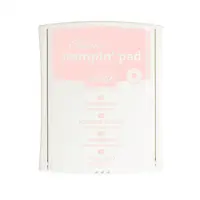
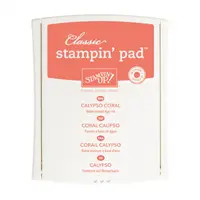
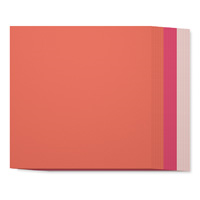
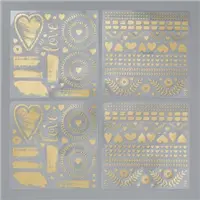
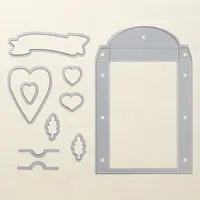
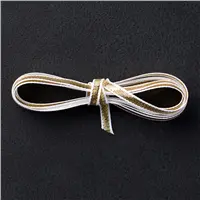
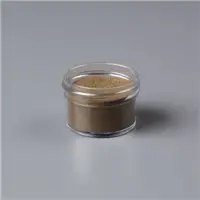
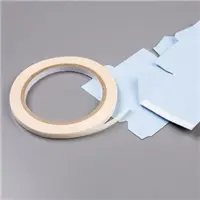
Black Friday is over and we move on to today’s Small Business Saturday.  To get things rolling I have a special THANK YOU for choosing me as your demonstrator.  It’s pretty simple — place a $50 order today through Monday and receive your choice of one of these items FREE!!!  That’s right you can pick any of these items and I will send them to you FREE.

Wait — that’s not all.  Stampin’ Up! wants to join in the Cyber Monday fun by giving you FREE Shipping. 


Online Extravaganza, FREE Shipping, Black Friday, Cyber Monday
This Stampin’ Up! offer doesn’t happen very often.  Free Shipping means you save 10% on your entire order — everything you want is now on sale PLUS I’m giving you a FREE goodie from above.

Use Hostess Code:  Y6PHWPJC when placing your order online or email me and I am happy to place the order for you (all orders will ship right to your home).  Remember FREE Shipping is Monday ONLY.
Don’t forget the order that puts me over my HALF MILLION in career sales get a SHOPPING SPREE with me (so far it’s a $50 shopping).

Share this!

Happy Thanksgiving to All!

Thanksgiving, Give Thanks, Stamp With Peggy


I’m taking the day off from stamping to spend it with family.  I hope you are doing whatever makes you happy today — it doesn’t matter if you are with lots of people or only a few.  It’s a day to be thankful for everything you have in your life (and I don’t mean material things).  Let’s all GIVE THANKS every day but especially today.

I am Thankful for each and every one of you.  I thank you for following me and my blog and for being more than just customers — you are my friends.  For That I Am Grateful.

Have a Very Happy and Blessed Thanksgiving!!!!

Share this!

Hometown Greetings Framed Art

Every now and then I hold a Mystery Class for my customers.  The first time I did it they asked what are we going to make.  I told them it was a mystery — I did this because I didn’t know yet what we were going to make but I promised them a great class.  It has now become a favorite and they are quick to sign up when I announce a Mystery Class.

Last night was my most recent Mystery Class.  They were definitely surprised!!!  Many assumed they would be making cards but that’s not what we did.  I saw this project on a demo Facebook group.  It was designed by Kathryn Simpson (hope I got that right).  I fell in love with it and knew this is what my Mystery Class was going to be.  Check this out!!!!


Hearts Come Home stamp set, Hometown Greetings Edgelits, Carols of Christmas Stamp Set, Framed Art, Lighted Picture, Christmas
This frame was so fun to make.  I found these 8″ x 8″ frames at Michael’s.  

  1. I used 8″ x 8″ Thick Whisper White for the base.  I stamped Santa and his sleigh and the words from Hearts Come Home stamp set with VersaMark ink.  I also stamped the stars from Carols of Christmas with VersaMark ink and heat embossed the background with Clear Embossing Powder. 
  2. The next three layers are 6″ x 8″, 5″ x 8″, 4″ x 8″.  Cut the top of each layer with the Hometown Greetings Edgelits to create a little village scene.  I used the smallest row of houses for the back layer (6″ x 8″), the church, tree and houses for the middle layer (5″ x 8″) and the row of larger houses in the front.
    The edgelit is shorter than the cardstock so after cutting the layer once, you will need to move the edgelit  over and cut a partial row.  Do this for each layer
  3. I bought the lights on Amazon.  I used Glue Dots to attach the wires to the back of each layer.  Then I put a strip of Foam Adhesive Strip over the light wires on each layer.  Attach layers one by one to the base.
  4. Put it all in to the frame and enjoy your masterpiece.

    Supplies Used:


Share this!