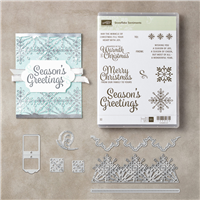
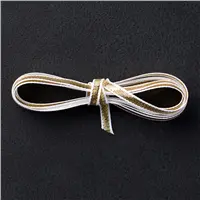
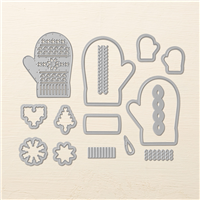
I’ve been playing with the Smitten Mitten Bundle and I’m having a blast. I pair Real Red with Gold Foil Sheet and the Year of Cheer designer paper (love this gold gingham pattern). The greeting is from Hearts Come Home stamp set. The Many Mittens Framelits has so many fun dies. I love that they put in two mitten outline dies — left and right hand. Then the fun cut out pattern is in Real Red added over a Whisper White mitten base for a fun peekaboo mitten. Cut a second cut out pattern mitten and flip it over to attach to the second Whisper White mitten base. I added a small gold bow for a finishing touch.

Measurements:
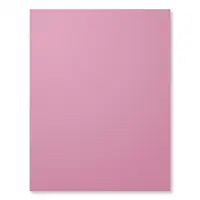
Real Red – 5 1/2″ x 8 1/2″ – score 4 1/4″
Gold Foil Sheet – 4″ x 5 1/4″
Year of Cheer designer paper – 3 7/8″ x 5 1/8″
Real Red – 1 1/8″ x 2 1/8″
Whisper White – 1″ x 2″ — stamp greeting with Memento ink
Whisper White – 3 1/2″ x 5 1/2″ — cut out two mittens
Real Red – 3 1/2″ x 5 1/2″ — cut out two patterned mittens — adhere over Whisper White mittens
1/8″ Gold Ribbon – 10″ — tie small bow
Supplies Used: