Merry & Bright Pizza Surprise

How would you like to receive a special Merry Christmas treat received in a Pizza Box?  The Holiday Catalog can help you out with this fun little project — Mini Pizza Boxes.  They are so adorable!!!  They are 3 1/2″ x 3 1/2″ so they are big enough to handle most any treat you want to give.  You could make a set of 3″ x 3″ note cards with envelopes for those healthy people (and it would be loved) or you could be a wonderful chocolate treat inside (yummy).  Super easy to make using the Merry Little Christmas Memories & More Card Pack (page 14) — no stamping needed!!

Mini Pizza Box, Merry & Bright, Treats, Christmas

Supplies:

That’s all it takes to make up some fun treat boxes for family, friends and co-workers!!!

Share this!

Merry Christmas Snowflakes

It isn’t quite time for snowflakes but we can play with them while doing paper crafts.  The Holiday Catalog has some great glimmer & glitz products this year and the Year of Cheer Suite is a wonderful example.  Today I have a quick, easy but glamorous card to share with you.  This was definitely a favorite at class the other night.
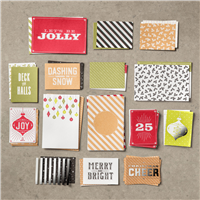
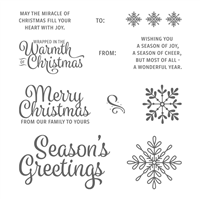
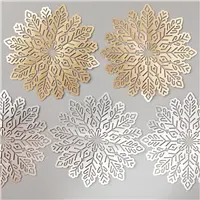
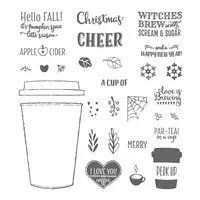
The picture doesn’t show how truly beautiful this card is.  I used the Snowflake Sentiments stamp set (page 35), the Year of Cheer Specialty Designer Paper, Year of Cheer Washi Tape (you are going to need this stuff) and the fabulous Foil Snowflakes (MUST HAVE ITEM)– they come in a pack of 24 — 12 Silver and 12 Gold.

Year of Cheer Suite, Snowflake Sentiments, Year of Cheer Specialty Designer Paper, Foil Snowflakes, Year of Cheer Washi Tape, Layering Oval Framelits


Measurements:
Thick Whisper White – 4 1/4″ x 11″ — score at 5 1/2″
Whisper White – 4″ x 5 1/4″
Year of Cheer Specialty Designer Paper – 3″ x 4″ — attach to bottom of 4″ x 5 1/4″ Whisper White
Year of Cheer Washi Tape – 5″ — attach above designer paper (I used Gold but you could use any of the washi tapes)
Foil Snowflake – for this card I used Silver but Gold is beautiful too – attach with little adhesive in center of snowflake
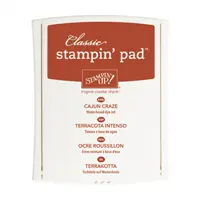
Whisper White – 2 1/2″ x 3 1/2″ — stamp greeting with Smoky Slate ink — cut out with Layering Ovals Framelits —             attach with dimensionals over snowflake

See how quick and easy this was — you could whip out a bunch of these pretties in no time — switch out designer papers, washi tape and snowflakes for a nice variety.

Supplies:

Share this!

It’s Pumpkin Spice Latte Time!!!

No, this isn’t a Starbucks commercial (though it could be).  There is a fabulous new stamp set in the Holiday Catalog for all the coffee and tea fans out there and yes, the Pumpkin Spice Latte fans too.  Merry Cafe coordinates with the Coffee Cup Framelits to make wonderful cards and gift card holders.

For this card I combined the Merry Cafe stamp set with the Burlap background stamp and the Spooky Nights designer paper — so much fun!!!  Are you ready for fall?  I sure am!!!

Merry Cafe Stamp Set, Coffee Cup Framelits, Spooky Nights designer paper, Pumpkin Spice Latte
Measurements:
Cajun Craze
– 4 1/4″ x 8 1/2″ — score at 5 1/2″
Very Vanilla – 4″ x 5 1/4″ — stamp leaves on right hand side with Cajun Craze ink
Black – 2 3/4″ x 4″
Spooky Night Designer Paper – 2 5/8″ x 3 7/8″
Black – 3″ x 3″
Cajun Craze – 2 3/4″ x 2 3/4″ — stamp Burlap Background stamp with Cajun Craze ink
Crumb Cake – 2 1/2″ x 2 1/2″ — cut out coffee cup using the Coffee Cup Framelits — smaller cup
stamp “Hello Fall” and leaves with Cajun Craze
Black – 1″ x 3″ — cut out coffee cup lid using framelits — wrap Copper Metallic Thread around 3-4 times
     Attach coffee up and lid with dimensionals
The Black and Cajun Craze Burlap layers are attached to card flap with dimensional on left and center (don’t put                
dimensionals on the right or you’ll seal your card closed.)

Share this!