Today's card uses a few products that are retiring soon.
Have you checked out the retiring list yet — some of my favorite items are on the list and many are on sale — some up to 40% off.
Click here to view the list

Card Tips:
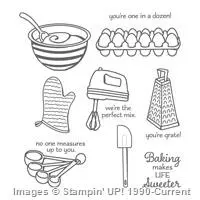
*Perfect Mix stamp set (retiring)
* Card Base — Bermuda Bay — 5 1/2" x 8 1/2"
* Whisper White — 4" x 5 1/4"
* Subtles Designer Paper Stack — Pool Party Dot — 2 3/8" x 3 7/8" (retiring)
* Pool Party — 2 3/8" x 3 7/8"
emboss with Large Polka Dot embossing folder (retiring)
* Bermuda Bay 1/8" Stitched Ribbon — 6" (retiring)
* Bermuda Bay — 2 1/4" x 3 1/2"
* Whisper White — 2" x 3 1/4"
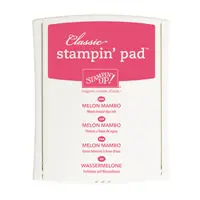
stamp grate and words with Memento ink
Supplies used on this card:


Don't forget to check out the Clearance Rack – the prices are awesome.
Place an order of $35 or more and I'll send you a little gift.
Please use Hostess Code #9XFKAX9F.
Reminder that you earn ONE Customer Loyalty Token with each $50 order.
Collect 10 tokens and choose any stamp set (up to $25) FREE!!!