Twelve Days of Christmas
Day #3 Winner — Susan E — she loves to shop — giving & receiving makes her happy.
Susan — send me an email with your address so I can send your little surprise.
Day #5 — What is your favorite Christmas movie??
Oh, that's a hard one for me — we have a ton of Christmas shows.
My favorite cartoon style show is 'Twas the Night Before Christmas.
It is the Trundell family (the clock maker) and the mouse family that lives with them.
I do love that one and my husband carved me an ornament from it.

Isn't he the cutest???
Don't forget to leave a comment to get your name in the drawing.
If you are receiving this post through your email — all you do is
go to my blog – www.stampwithpeggy.com
at the bottom of today's post there is a "comment" button, click that
and type in your comment.

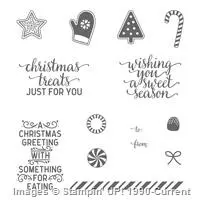
Today's stamping project is a Gift Card Holder.
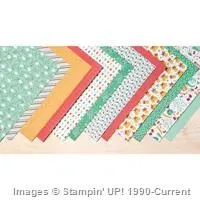
I used the Candy Cane Lane designer paper and a simple greeting for the front.

Inside you can write a little message and tuck the perfect gift inside.