Today’s project is perfect for co-workers.
A pretty little box for their desk to hold
note paper and a calendar for quick reference.
I know we all have Google calendars and
planner books to keep us organized but
sometimes it’s nice to have a calendar
right in front of you for a quick glance.

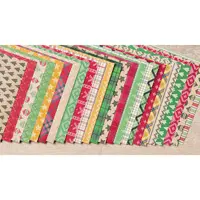
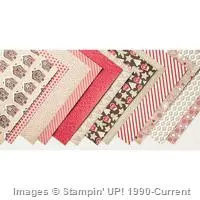
I used different designer papers — one for
the women and one with a bit more masculine
look for the men you work with.
They are pretty quick to put together,
no stamping just cardstock and designer paper.
Directions:
1. Cardstock — 4 1/4″ x 10″
score at 1/2″, 2″ 3 1/2″, 9 1/2
put Tear & Tape on the two 1/2″ ends
fold on all score lines
2. Cardstock — 4 1/4″ x 6″
3. Cardstock — 6 1/4″ x 7″
score 1″ down both sides
score 3″ & 4″
snip tabs as shown in picture
attach Tear & Tape
4. Cardstock — 2 1/2″ x 3 1/4″
Calendar gets attached to this
5. DSP — 2 pieces 2 7/8″ x 4 1/8″
6. DSP — 2 pieces 7/8″ x 2 7/8″
7. Ribbon — 12″


Attach designer papers and calendar

4 1/4″ x 10″ piece — fold as shown
Attach the 4 1/4″ x 6″ cardstock to the 1/2″ Tear & Tape end without the extra folds

Now fold up on scores and attach the other end

Time to create the box

Attach the little tabs over the side without Tear & Tape
Fold the side with Tear & Tape over to create a little box

Attach little designer paper pieces to the sides
Put Tear & Tape on back of box

Attach box to folder base (below the designer paper)

Wrap ribbon around the box
I overlapped mine on the front as the calendar will cover it
Attach the calendar

Once you have the pieces cut they are very fast to assemble.
You can use lots of different designer papers.
It’s a great way to use up scraps.