When I was designing projects for
my Santa’s Workshop Class I knew
I wanted some type of Hot Cocoa packaging.
I came across this design on Stampin’ Up!’s
co-founder, Shelli Gardner’s blog.
It was from a couple year’s ago and it
filled my need — a mug made from
cardstock and filled with a Starbuck’s
Hot Cocoa, mini bag of marshmallows
and a Candy Cane.

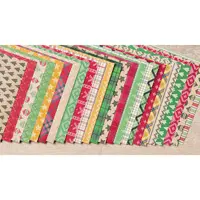
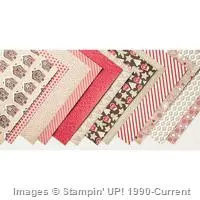
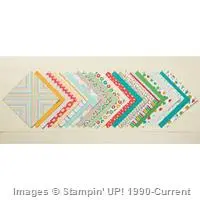
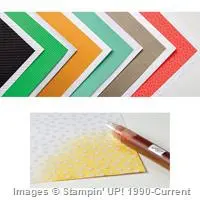
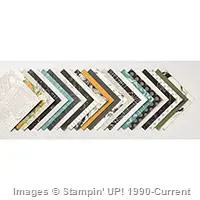
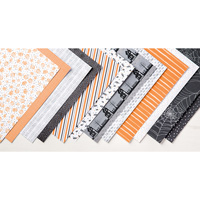
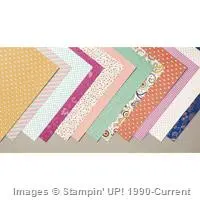
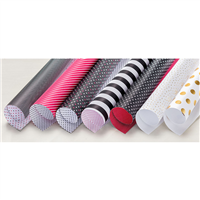
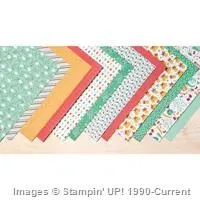
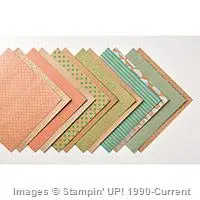
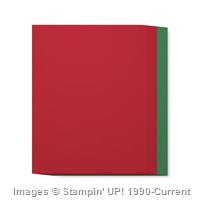
I used the Warmth & Cheer designer paper stack
(which is on sale half price).
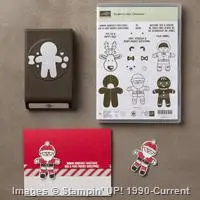
The greeting and tree are from
Wrapped in Warmth stamp set.
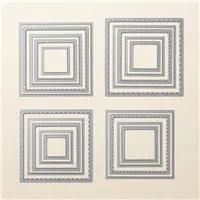
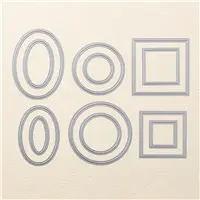
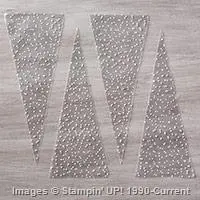
A bit of fun texture added with the
Layering Squares Framelits and the
Stitched Shapes Framelits.
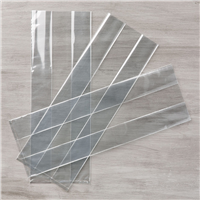
Then I finished it off for gift giving using
one of Stampin’ Up!’s 6″ x 17″ Gusseted Cellophone Bags
and tied it up with the
Real Red 3/4″ Stitched Edge Ribbon.

Hmmm….who will receive this fun package.