With Christmas right around the corner
it's time to think about packaging those gifts.
I have just the solution for a small gift —
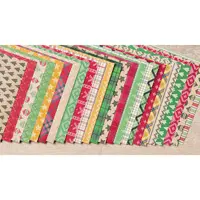
an adorable little box that is decorated
with the This Christmas specialty
designer paper and tied up with
the very vintage
Very Vanilla 1/2" Lace Trim.
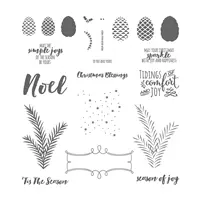
The tag on the front was stamped
with Tin of Tags stamp set
(another must have set)
and it's on sale through tomorrow.

The Tin of Tags stamp set is only $15.75 (25% off – $5.25)
but only through Wednesday, November 30th.