I am such a holiday/seasonal stamper!!!
As we finish up Christmas and all the Christmas cards
I am working on some Thank You notes of course for
all the wonderful people that helped me celebrate.
BUT — I am also moving into Valentine's Day stamping.
I know people say it is a Hallmark holiday but I
don't know what is wrong with telling someone that you
care about them and what better way than with a
handmade card — tuck in a small piece of dark chocolate
because we all know that is "healthy" for us, right.
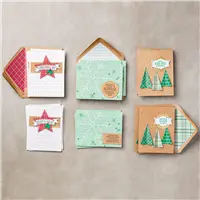
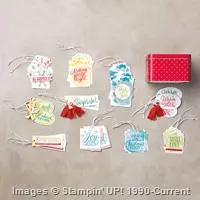
Today I am sharing three little note cards that we made
at our On Stage event last month (we got to preview new product).
Aren't these just adorable???

I can't share the links to the products yet — they aren't available until January 4th.
But if you have your Occasions Catalog you can find them all in there.
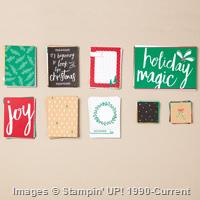
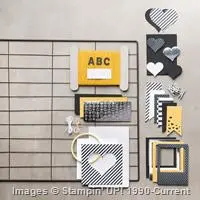
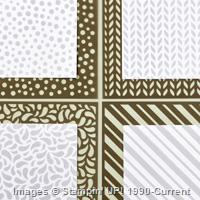
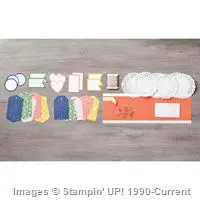
Sending Love designer Series Paper Stack — page 15
Sealed with Love stamp set — page 15
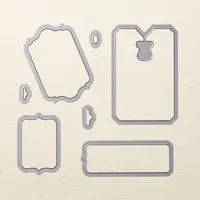
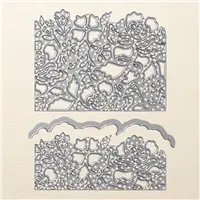
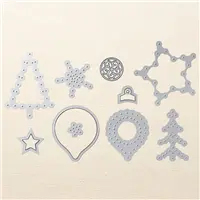
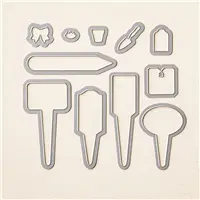
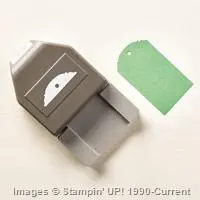
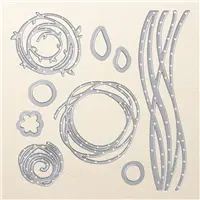
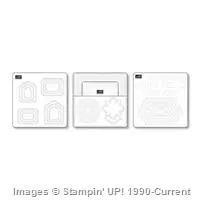
Love Notes Framelits Dies — page 14
(the stamp set & framelits are sold in a bundle too saves you 10%)
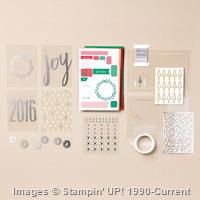
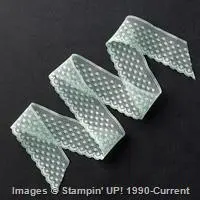
Sending Love Glassine Sheets — page 14
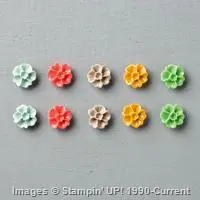
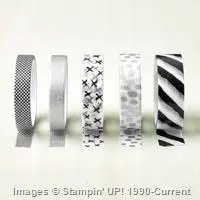
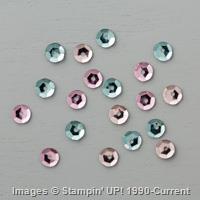
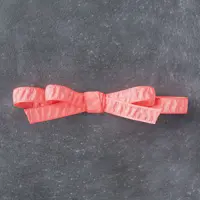
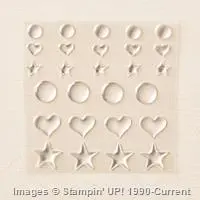
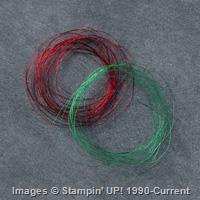
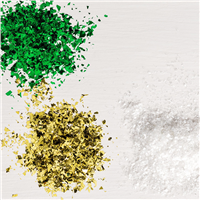
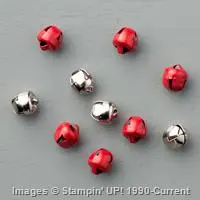
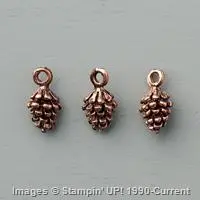
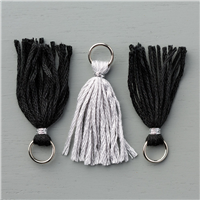
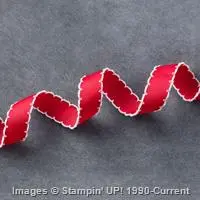
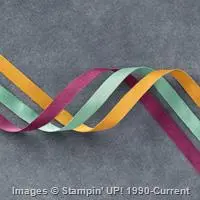
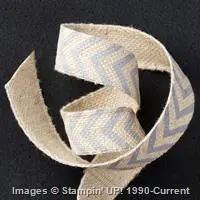
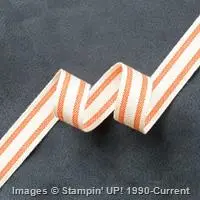
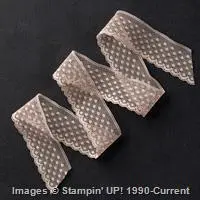
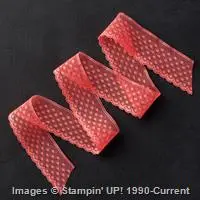
Sending Love Embellishments — page 15
I just love these — they are cute and quite inexpensive to make a bunch of them.
While we have been sneak peeking the new catalog coming next week I don't want you to forget the Year End Closeout Sale. There are some great prices!!!
USE HOSTESS CODE #MJP6C7HF
when placing your order through December 31st
if your order is over $50 I'll send you a little gift.
Be sure you don't choose NO CONTACT as I won't know you placed the order.