Do you send out a lot of Christmas cards?
I have the perfect solution for you.
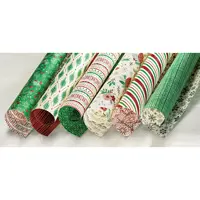
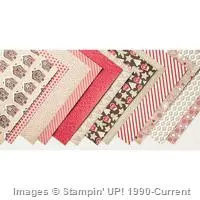
All you need is ONE package of the
This Christmas specialty designer paper
(found on page 172 of the Annual Catalog),
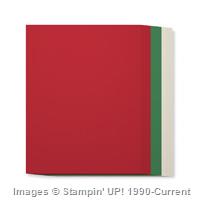
one package of the This Christmas cardstock pack
(Cherry Cobbler, Garden Green & Very Vanilla),
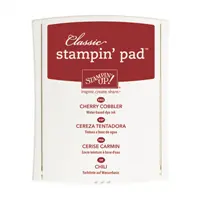
Cherry Cobbler and Garden Green stamp pads,
and the Tin of Tags stamp set.
Really — that's it and you can whip out a BUNCH of cards.
Here's what we did with these products:


Aren't these great — quick & easy cards.
In an evening you could have all your cards cut,
stamped and assembled.
Then all you have left is to address them and be
ready to take to the post off right after Thanksgiving.
Surprise everyone this year and be the first to
put your cards in the mail.
Don't you get excited waiting to see who that first
Christmas card is from — mine is always my
Uncle Bob & Aunt Faith!!!