Star of Light Double Z-Fold

I love cards with different folds.  I have done the double z-fold before but when I saw BJ Peters card I knew that I had to try this one too.  The Star of Light stamp set and coordinating Starlight Thinlits are perfect for this card.

Double Z Fold
This card has lots of bling but is so elegant looking.  Check out the inside too.
Double Z Fold Inside
Card Directions:
1.  Card Base — 4 1/4″ x 11″ — score 2 3/4″ and 5 1/2″
2.  Silver Foil Sheet — 1″ x 11″ — score 2 3/4″ and 5 1 /2″
3.  Night of Navy — 3/4″ x 5 1/4″
     Stamp Merry Christmas and Star with VersaMark and heat emboss with Silver embossing powder.
4.  Left Panel — Night of Navy — 2 1/2″ x 4″
5.  Marina Mist — 2 3/8″ x 3 7/8″
     Cut out small elegant star
6.  Silver Glimmer Paper — cut out the same small elegant star
7.  Middle Panel — Marina Mist — 2 1/2″ x 4″
8.  Night of Navy — 2 3/8″ x 3 7/8″
     Cut out star with dots forming star
9.  Stamp swirling star with Marina Mist ink on right panel
10. Stamp greeting and stars


Share this!

Star of Light

Have you played with the Star of Light stamp set yet?  I LOVE this stamp set.  Last night was my Stamp of the Month Class — everyone received the Star of Light Bundle which includes the Star of Light stamp set and the coordinating Thinlits — Starlight.  I had so much fun designing these cards — I ran out of time but it’s a stamp set that I really want to play with some more.  The cards are beautiful yet pretty simple.

The first card I want to share is a great combination of Dapper Denim and the Copper Foil Sheets.  I did “CASE” this card from Pinterest with a couple small “Peggy tweaks”. 
Dapper & Copper
Isn’t it fabulous.  I love the soft romantic look of the star swirl and love the copper and dapper denim color combo.  I forgot to take a picture of the inside but I added the star swirl again and stamped “Became the Light of the World”.

If you haven’t ordered this bundle yet it is a MUST HAVE!!

Share this!

Holly Christmas Wishes

I love when Stampin’ Up! has BUNDLES — you know — a stamp set and then a coordinating punch or framelit set!!!  It makes everything so much easier when we are creating and bundles save us money too — 10% off when you purchase both items together. 

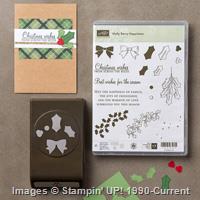
Today’s card features the Holly Berry Happiness stamp set and coordinating Holly Berry Builder Punch — it makes those little holly leaves and berries so easy to make.
Holly Christmas
Card Directions:  
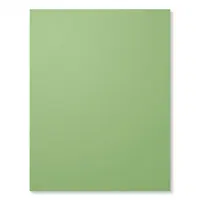
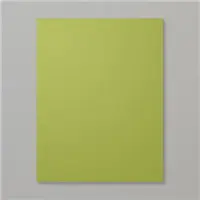
1. Card Base — Wild Wasabi — 4 1/4″ x 11″ — score at 5 1/2″
2. Whisper White — 3 3/4″ x 5″
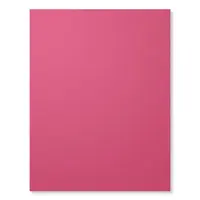
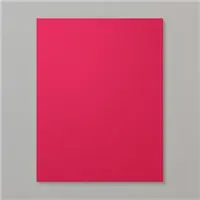
3. Flirty Flamingo — 3 5/8″ x 4 7/8″
4. Whisper White — 3 1/2″ x 4 3/4″
5. Stamp Christmas Wishes with Flirty Flamingo ink
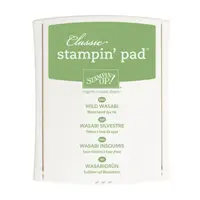
6. Wild Wasabi scrap — stamp two larger holly leaves with Wild Wasabi ink.
7. Flirty Flamingo scrap — stamp holly berries with Flirty Flamingo ink
8. Punch out leaves and berries with Holly Berry Builder Punch
9. Attach leaves and berries with dimensionals

Isn’t this a great card for those far away family and friends.  It is pretty quick to make so you have plenty of time to get started.

Share this!