It’s a Sale-a-Bration day again.
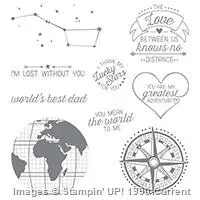
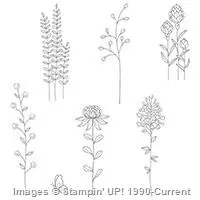
Today’s featured stamp set is Flowering Fields.
It’s in the Sale-a-Bration Catalog and you can
choose it FREE when you place a $50 order from
my online store — just click the SHOP button or click on the
items below — it will take you right to them in my store.
It’s quick and easy.

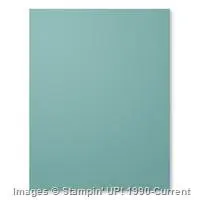
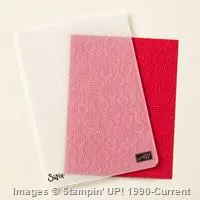
The card base is Very Vanilla with a layer of
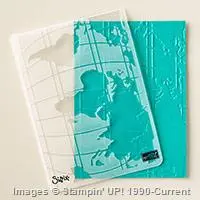
Soft Sky and then Watermelon Wonder that I
embossed with the Elegant Dots embossing folder.
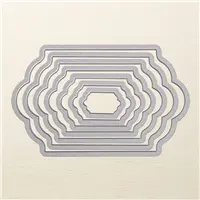
I used the Lots of Labels Framelits to cut out
one Soft Sky and one Very Vanilla label.
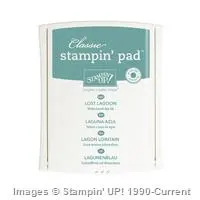
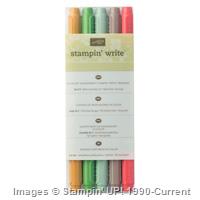
I stamped the flowers with Memento ink,
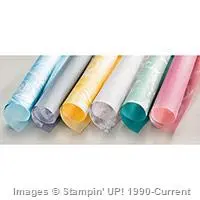
then colored them with markers:
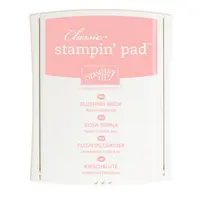
Blushing Bride
Watermelon Wonder
Pear Pizzazz
I attached these layers with dimensionals.
I added a pearl at each end of the Very Vanilla label.
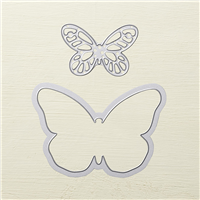
I cut a butterfly from Blushing Bride cardstock
using the Bold Butterfly Framelit.
I used the wonderful Clear Wink of Stella
to add sparkle all over the butterfly (it doesn’t
show up well in the picture but is beautiful
in person.)
I stamped the banner and “for you” from
You’re So Lovely on
Watermelon Wonder cardstock and cut it
out using the Large Numbers framelits.
This are a must have item.


Built for Free Using: My Stampin Blog