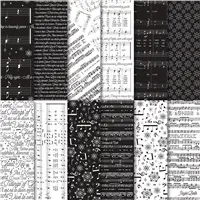
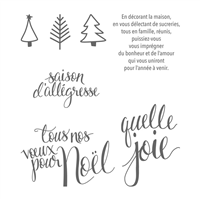
This is a quick, simple but fun card that makes me want to sing!!! It used the Festive Phrases stamp set — such a fun set and it is on the Retired List so it will be gone soon. I paired the stamp set with the Merry Music Specialty Designer Paper which has plenty of music notes to help me with the singing (heehee). I tipped the Real Red square for a diamond shaped backing and added a strip of Gold Washi Tape from the Year of Cheer Washi Tape package.

Measurements:
Black – 5 1/2″ x 8 1/2″ – score at 4 1/4″
Real Red – 4″ x 5 1/4″
Whisper White – 3 3/4″ x 5″
Merry Music Specialty Designer Paper – 2 1/2″ x 3 3/4″
Real Red – 2 3/4″ x 2 3/4″
Black – 2 1/2″ x 2 1/2″
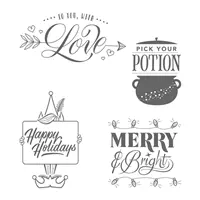
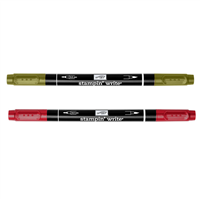
Whisper White – 2 1/4″ x 2 1/4″ — stamp Merry & Bright with Memento ink — color light bulbs with markers (Real Red, Daffodil Delight, Old Olive, Pacific Point)
Supplies Used: