Do you love to give hand made Christmas gifts? I have a fun home decor Class to Go that can give you a helping hand on those precious gifts.

Creating Home Decor pieces is something I love to do.
It is simple when you have wonderful products to use.
This beautiful winter framed art would make a meaningful gift for a loved one or an
eye catching decoration in your home. It features the Smitten Mittens stamp set and
Many Mittens framelit dies found in the Stampin’ Up 2017 Holiday Catalog.
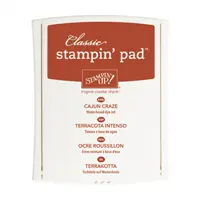
For this Class To Go kit, you will need Dapper Denim, Pool Party and Smoky Slate stamp pads, the Smitten Mittens Bundle (stamp set and framelits) and adhesives (dimensionals, glue dots and Snail or Fast Fuse.
The kit includes details & pictures of each section along with the 12” x 12” Smoky Slate background, Dapper Denim, Pool Party and Whisper White pieces and all elements needed to complete this project. No stamping will be done for you. (If you do not have the stamp set/framelit bundle or the inks, you can add it to your kit).
This kit does not include the 12” x 12” frame.
This kit has a very short registration time. The deadline to register is Monday, December 4th.
The kits will ship by December 11th.
Kit Price is $20 plus $7 Priority Shipping – save on shipping costs when you order more than one kit.
There’s not much time to get the class ordered and shipped to you, it’s a short turnaround time so email me right away — I will send you a PayPal link to pay for the class.