The holidays are over and we are quickly approaching
Valentine's Day — it's one month from today.
Do you send cards?
If you don't — why don't you???
I love to receive cards throughout the year.
There is something about getting the mail and
seeing that card envelope — you just know that
someone cares enough to send you a card!!
This is the perfect card to make a bunch of
and surprise everyone this year.
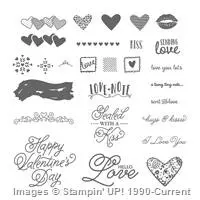
I used the Sealed with Love stamp set
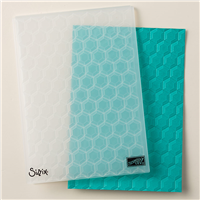
and the new Falling Petals embossing folder
to help me make this card extra special.
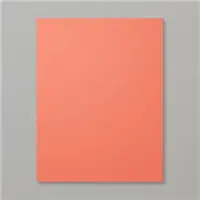
 My card base is Real Red with a layer of Whisper White.
The Basic Black layer was embossed with the Falling Petals
embossing folder (isn't this the cutest).
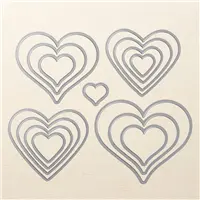
I used the Sweet & Sassy framelits (hearts) to cut
out a Real Red heart and the Happy Valentine's Day
with Memento ink.
On a scrap of Whisper White and with Real Red ink
I stamped the little heart envelope and trimmed around
it with my Paper Snips. I attached it to the heart with a
Glue Dot and then added the Mini Paper Clip for that special touch.