Here’s a card for you that at first glance
looks like a Valentine card.
Nope, it’s a birthday card.
Of course, it’s a great birthday card for
anyone who has a birthday in February.
This is a sweet and simple card.
It’s part of the swap I participated in.
The maker was Angie Juda.
Thanks Angie for an adorable card.
I can’t wait to do a little bit of embellishing on it.
 The base of the card is Crumb Cake.
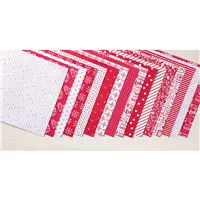
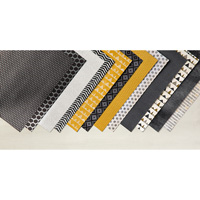
The designer paper is the Sending Love designer paper stack.
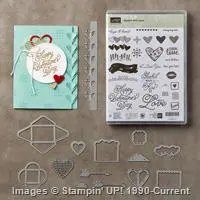
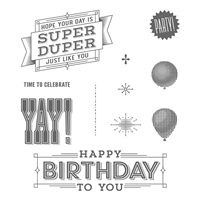
The stamp set is Balloon Adventures.
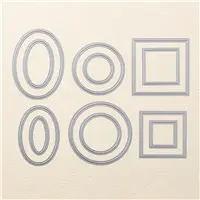
One of the highlights for me is the Stitched Shapes framelits.
They are suppose to be available again on Monday — YAY!!