Kids Stamp Class

Last night I held a stamp class for kids!!!
I love these classes and it's been a long time since I've held one.
I had 15 kids — 5 boys and 10 girls.
They ranged in age from 3 1/2 to about 12.
It was such a BLAST!!!
Group
Here's everyone working away on their first project.
I used composition notebooks.
I covered them with Black cardstock so they were ready for the kids to create.
We made a Minion for the front cover.

Look how proud they are of their creations.
Minions 1
Here's the finished project.
Minion Notebook
Then we moved on to card making.
I used the one design layout and color scheme but I left them
choose one of three stamped images.
Isla
Look how hard she is concentrating.  She did SUCH a great job.

Here are the three cards they chose from.
Bella Card
Bella & Friends
Dino Great
No Bones About It
Pretty Kitty
Pretty Kitty

It was a pretty tough decision — the dinosaur won a few extra votes but all three stamp sets shared the love.

I can't wait to schedule my next Kids Stamp Class.
I'll have to start designing Christmas projects for them to make.

Share this!

Floral Phrases and Floral Boutique

I keep telling you how much I LOVE the
Floral Phrases stamp set and the
Floral Boutique designer paper.
Here’s another card using these two
wonderful products.
Floral Phrases
Card Directions:
1.  Card Base — Night of Navy — 4 1/4″ x 11 1/2″ — score 5 1/2″
2.  Silver Foil Sheet — cut out second to largest banner
3.  Floral Boutique designer paper — cut out next smaller banner
4.  Delicate White Doily — cut in half
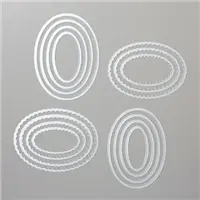
5.  Night of Navy scrap — cut out scallop oval using Layering Ovals framelit
6.  Whisper White scrap — cut out oval using Layering Ovals framelit
a.  Stamp words and flower with Night of Navy ink

Share this!

Holiday Box and a Birthday Card

WOOHOO!!
Here's my first box of goodies from the Holiday Catalog!!

Holiday Box

Here's the box opened up with a sneak peek of what's inside
Holiday Box Opened
Hmmmm….what's in there.
Holiday Loot
Let me just say YOU ARE GOING TO LOVE IT ALL!!
Copper Foil paper, Red Glitter embossing powder, FABULOUS designer paper and of course tons of great stamp sets.
There are so many good things I have to limit myself on this first order.
I know — it doesn't look very limited.  Hoping to start playing with it some this weekend.

Ok, on to another card from Saturday's Pool Party.
I'm dedicating this card to Annie — her birthday was yesterday.
This was Annie's favorite card Saturday — very quick and easy.
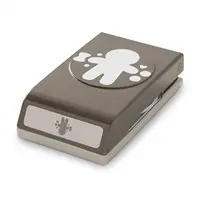
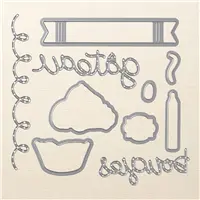
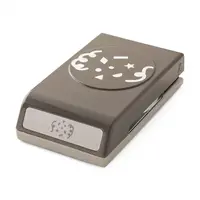
We used the My Hero stamp set, the Balloon Bouquet punch and the
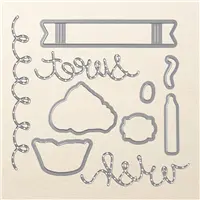
banner framelit from Cupcake Cutouts.
Balloons Celebrate
Card Directions
1.  Card Base — Pumpkin Pie — 5 1/2" x 8 1/2" — score 4 1/4"
2.  Black — 3 7/8" x 5 1/8"
3.  Tempting Turquoise — 3 3/4" x 5"
a.  emboss with Sparkle embossing folder
4.  Black — 2" x 5"
5.  Festive Birthday Designer Paper — 1 7/8" x 5"
6.  Pumpkin Pie & Crushed Curry Scraps — punch out large balloon using
the Balloon Bouquet punch
a.  sponge edges with Pumpkin Pie & Crushed Curry inks
b.  add "highlight" mark with Chalk marker
c.  attach Thick White Baker's Twine to back of each balloon with dimensionals
7.  Pumpkin Pie scrap — stamp Celebrate with Memento ink
a.  cut out with banner from Cupcake Cutouts framelit
8.  Assemble card as shown

Happy Birthday Annie — I hope you had a great day.

Share this!