Flowering Fields Thank You

Don’t you love when a stamp set and designer paper coordinate!!
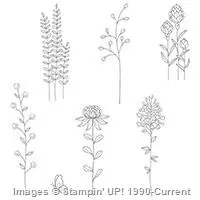
Check out the Flowering Fields stamp set and
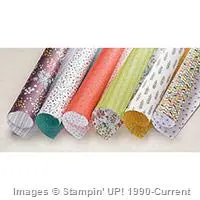
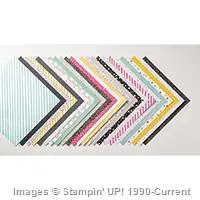
Wildflower Fields designer paper in the
Sale-a-Bration Catalog.  Today’s card features both of
these FREE items (yup, you can choose both items when you
place a $100 order).
Flowering FieldsThis card was cased from one that my sister, Tina Rappe, designed.
I made a few modifications to her card.
My card starts with a Blackberry Bliss base — 4 1/4″ x 11″, scored at 5 1/2″
Next is a layer of Perfect Plum — 4″ x 5 1/4″
Then I added a layer of Pear Pizzazz — 3 1/4″ x 4 1/4″
Next is a layer of the Wildflower Fields designer paper — 3″ x 4″
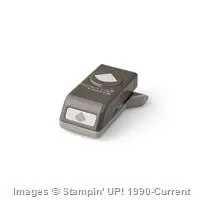
I rounded the corners of both the Pear Pizzazz and designer paper layers
with the Project Life Corner Punch.
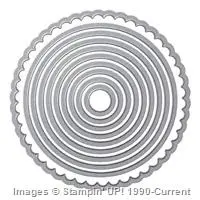
Then I cut out a Blackberry Bliss circle using the Circles Collection Framelits.
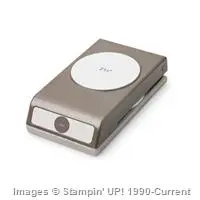
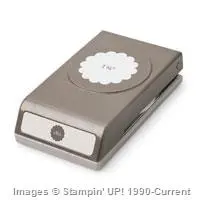
The stamped piece is Whisper White punched with the 2 1/2″ Circle Punch.

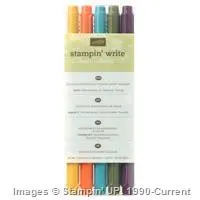
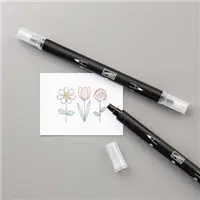
I used Blackberry Bliss marker to ink up the butterfly and stamped
on the Whisper White circle.
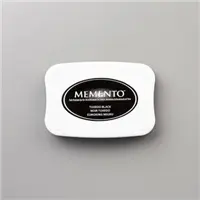
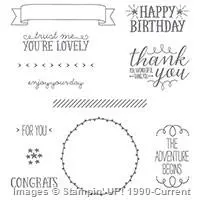
Next I stamped the words from You’re So Lovely with Memento ink
under the butterfly.
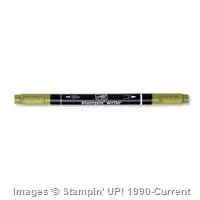
Then I used Blackberry Bliss and Old Olive markers to ink up the flowers.
After they are stamped I used a Blender Pen to color over the petals and
leaves to fill in the color.

This was a popular card at my Winter Warm Up on Saturday.
Flowering Fields is a must have stamp set.
Share this!

Sit, Drink, Eat

Come, Let Us Sit and Drink Together
and Eat Cake
and Eat Cookies.

Isn’t this the BEST card ever!!!!
Who doesn’t want to do this — sit with a friend,
drink some coffee (or whatever else you like)
and eat cake & cookies.

This is one of the cards my stampers got to make yesterday
at my Winter Warm Up.  I got together with three
team members and our customers for 4 hours filled
with stamping.  Everyone made 12 cards using great
items from the Occasions and Sale-a-Bration
Catalogs.  It was a fun filled morning and the
weather cooperated quite nice — 50+ degrees.
It was a wonderful Saturday.
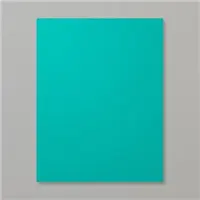
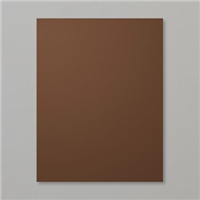
Drink, Eat Cake & CookiesThe card base is Bermuda Bay with a layer of Early Espresso.
I used Shimmery White for the stamped layer.
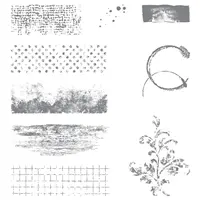
I used Tip Top Taupe stamped for for the “C” image from
Timeless Textures stamp set.
Next I added the little “splotches” — I inked up once with Tip
Top Taupe and stamped twice, then reinked.
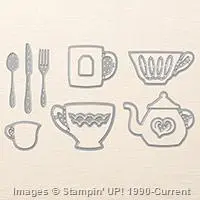
I cut out the coffee cup from Cup & Kettle Framelits.
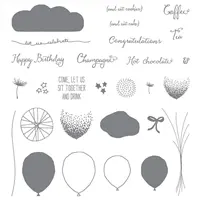
I used Early Espresso to stamp “Come Sit” and “eat cake”
which are both from Balloon Celebration stamp set.
Attach the cup with dimensionals.
Oh, I almost forgot — don’t forget to cut out the heart steam
using the Cup & Kettle Framelits and Early Espresso cardstock.
I attached this with the Fine Tip Glue.

Share this!

Make a Wish

Happy Birthday — Make a Wish!!!!
Today’s card has a nice “pop” of color.
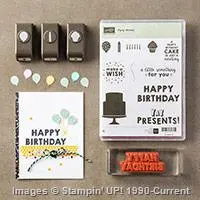
The stamp set used is Party Wishes
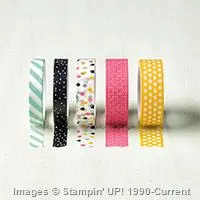
and the designer paper is It’s My Party.
I even used the coordinating punch pack for the balloon.
It’s a great set of 3 punches — Party Punch Pack.
There is this balloon punch, a cupcake and a candle.
So much fun and so many things to do with them.
BirthdayThe card base is Thick Whisper White with a layer of Basic Black.
Then the top Whisper White layer.  I stamped “Happy Birthday”
with Memento ink.  Then added the It’s My Party washi tape
right above the greeting.  I punch a balloon from Melon Mambo
cardstock and attached with a dimensional.  I used the
Black marker to draw the balloon line.
I attached 1 1/4″ squares of designer paper to
1 3/8″ squares of Melon Mambo cardstock and attached
to the card front.  I stamped “Make a Wish” with
Memento and punched out with the 1 1/4″ Circle Punch.
This is attached to a 1 3/8″ Melon Mambo circle which is
attached to a 1 3/4″ Black Scallop Circle.
Another card that is pretty quick to make.

Share this!