As the Christmas season ends and we reflect on the
time spent with loved ones, we remember how much we
love each and every one of them.
It's a great time to start thinking about
Valentine's Day.
I love to send a card to my son and daughter
to remind them how much they mean to me.
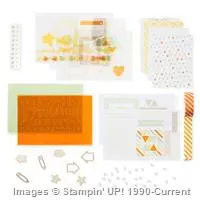
This year the Occasions Catalog makes our
card making task much easier.
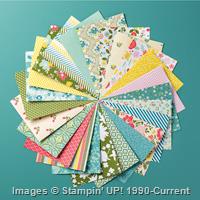
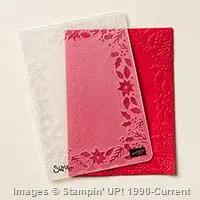
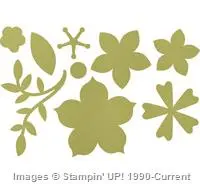
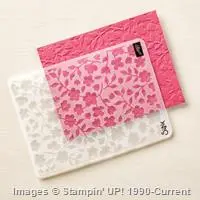
The stamp sets are AMAZING!!! This beautiful card was made using the new
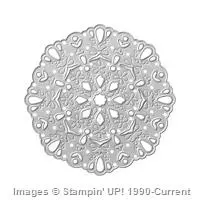
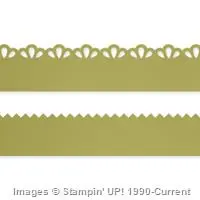
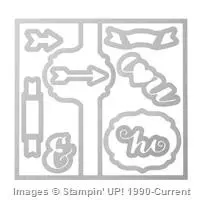
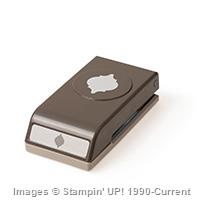
Bloomin' Love stamp set and the coordinating
Bloomin' Hearts Thinlit.
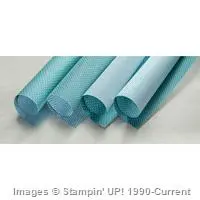
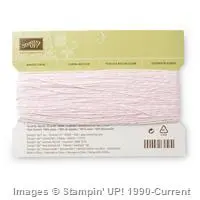
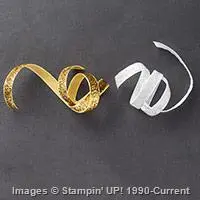
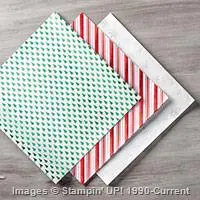
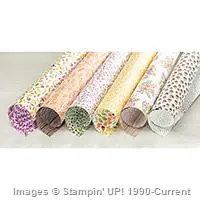
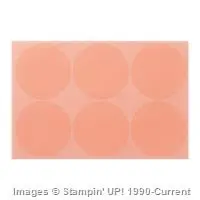
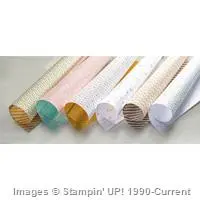
Oh and don't forget the beautiful
Blushing Bride Glimmer Paper.
It is oh, so pretty.
It adds some nice subtle bling to those
Valetine's Day cards.
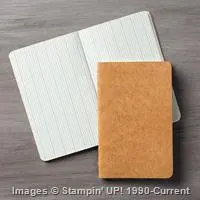
My customer catalogs went in the mail today.
If you aren't on my mailing list and want
a catalog, just pop me an email
and I get one out to you right away.