Wood Texture Mosaic Birthday

Mosaic Masculine Birthday Card — sounds intriguing, right!!  Often times, masculine cards are tough to design.  You go Blop Hopping or to Pinterest or Goggle to find something to get you started.  Sometimes that is all you need and away you go.  But sometimes you see “THE CARD” and you know that you have to make it just like that.  That’s called CASE-ING a card.  Well, today I have a CASED card to share.  My sister, Tina, did a card last month at one of her classes and when I saw it I knew that I had to case this card.

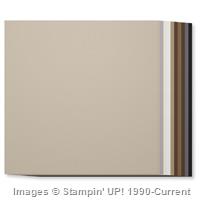
My dad and brother and my husband and son are into woodworking.  They all like to build furniture and turns bowls.  My husband carves ducks, fish, nativity scenes and lots of other things.  So this card just fit my entire family of men.  The card uses the Wood Texture Designer Paper.  This is such realistic paper — it is a must have for everyone.  The designer paper is matched with the Tailored Tag Punch and here is what you get.

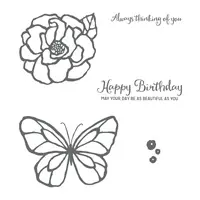
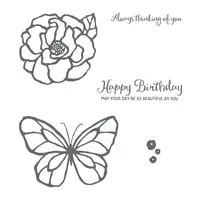
Perennial Birthday Stamp Set, Wood Texture Designer Paper, Masculine, Mosaic, Birthday
You just punch out the different wood grains and attach them to a 4″ x 5 1/4″ piece of Early Espresso — trim off any edges hanging over, wrap Linen Thread around, tie a knot.  Stamp Happy Birthday from Perennial Birthday Stamp Set with Early Espresso ink, add three pearls that are colored with the Bronze Stampin’ Blend.  Then attach to the card base with dimensionals.

It’s a bit scary as you start laying down the punched wood pieces but once you get going it’s a lot of fun.  I hope you enjoy making it too.  Give it a try with all different designer papers.

Supplies Used:


Share this!

Friendship’s Sweetest Thoughts

Are you ready for a cart full of spring flowers?  I sure am.  Friendship’s Sweetest Thoughts stamp set is just perfect to help set the tone for your spring cards.  I just love this market cart filled with beautiful spring flowers.

Friendship's Sweetest Thoughts Stamp Set, Thinking of You, Spring
This was a fun card to make — just stamp the cart with Memento ink and then do a little coloring with Stampin’ Blends.  I love coloring with these markers — there are no streaking lines.  I am still learning how to shade better but just straight coloring is fabulous — it looks awesome every time.

SUPPLIES USED:

Share this!

Cake Soiree Pop Up Card

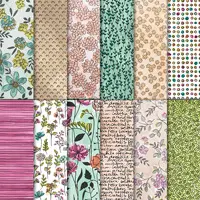
Last week I shared the wonderful Pop-Up Cards that we did at our Stampin’ Sisters Retreat.  Many of my customers weren’t able to attend our retreat and wondered how to make these cards pop up.  So, I decided to share this great technique at my Fast & Fabulous Cards Class last night.  It looks hard but they found it really wasn’t hard at all.  This time I used the Sweet Soiree designer paper and the Cake Soiree Bundle.  I think it turned out quite cute.

Cake Soiree Stamp Set, Sweet Cake Framelits, Sweet Soiree Designer Paper, Pop Up Card
This card is adorable just like this, write your greeting inside and you are ready to pop it in the mail, but WAIT, we aren’t done yet.  Check out the inside:

Cake Soiree Stamp Set, Sweet Cake Framelit, Birthday
It’s a birthday card so I thought the pop up cake fit quite nicely, don’t you?

Measurements:
Old
Olive – 4 1/4″ x 11″ — score at 5 1/2″
Silver Foil Sheet – 3 3/4″ x 5″
Sweet Soiree Designer Paper – 3 5/8″ x 4 7/8″
3/8″ Silver Metallic Edge Ribbon – 5 1/2″
Silver Foil Sheet – 2″ x 3 1/2″ — punch with Pretty Label Punch – cut in half lengthwise
Whisper White – 2″ x 3 1/2″ — stamp birthday greeting with Memento — punch out with Pretty Label Punch
Old Olive – 4 1/8″ x 3″ — score across 3″ side — 3/4″, 1 1/2″, 2 1/4″ — cut 3/4″ slit on middle score line (center slit)
Window Sheet – 1/2″ x 3″

Supplies Used:

Share this!