Bleached Leaves

This card has a technique that I haven't done in a long time,
and I forgot how much fun it is.
Actually it combines two techniques
Heat Embossing (that still gets ewwws and ahhhhs) and Bleaching.
That's right — put some bleach in an Aqua Painter and paint away.
The bleach pulls the color out of the cardstock — very cool.
Bleached LeavesThe base of the card is Crushed Curry with a layer of Basic Black.
The next layer is Soft Suede.
Stamp the Lighthearted Leaves with VersaMark ink and heat emboss with
Black Embossing Powder.  Then use the Aqua Painter filled with Bleach to
paint the areas you want lighter.
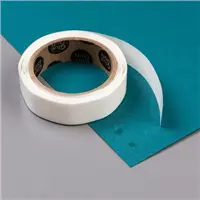
Add a piece of the Venetian Crochet Trim to the bottom of the
Kraft Corrugated Paper which is trimmed at an angle.
Stamp the "So Grateful For You" with VersaMark ink on a small strip of
Crushed Curry and emboss with the Black Embossing Powder — trim at an angle too.
Take a piece of Gold Cording Trim and place onto the back of the corrugated banner, looping around freely.  Attach to the card front with dimensionals.
Add one of the wonderful Into the Woods Elements with glue.

This was another swap card from Founders Circle — the designer was Kelly Acheson.
Great card Kelly — Thank You!

Share this!

Halloween Treat Bag

Check out this cutie!!!
This adorable Halloween Treat bag was made by Janet Baker.
I received it in a swap at the Founders Circle Trip.
Isn't that witches hat just awesome.
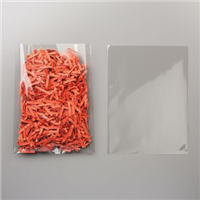
Halloween Treat BagThe bag is the Kraft Tag a Bag Gift Bag (item #138315) in the Annual Catalog.
You get 10 bags for only $3.50 — what a great deal.
She added half of a Spider Web Doily to the front of the bag.
Stamp the image from the Witches' Night stamp set on Very Vanilla cardstock
with Memento ink and cut out with the Lots of Labels Framelit.
Stamp the hash border with White Stazon ink.
Stamp the bats twice with Memento ink.

The hat is the best part.
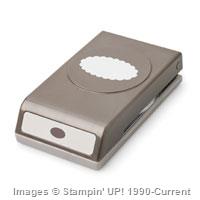
Use the Black Glimmer cardstock and the Tree Punch.
Punch out two trees and adhere them to a clothespin.
Then punch out a 2 1/2" circle from the Black Glimmer cardstock and
punch out a 1" circle from the center.  Slip this over the tree covered clothespin and
adhere to create the hat brim.  Such a stinkin' cute idea.
We used the Happy Haunting designer paper to punch a bow using the Bow Builder Punch.  Assemble the bow and attach to the front of the hat.
This cute hat helps keep the treat bag shut.

Thank you Janet for this great swap — my Bingo ladies LOVED making it.

Share this!

Stamping Break

I went on a stamping team getaway this past weekend.
Most of the ladies brought stamping projects to work on.
I decided I need a bit of a break from stamping so I decided to sew.
When I was at the Founders Circle trip I went to three quilt stores and purchased a
bunch of fabric — most of it was for pillow cases for my grandchildren.
I also bought a couple of Moda Jelly Rolls.
What's a Jelly Roll you ask — it's strips of fabric all rolled together.
Here's one of them.  You sew the strips together to make a quilt top.
Angie Juda showed us how to do these.
Jelly Roll
I made 10 pillow cases and one quilt top.
Check out this fun pile of finished projects.
Pillow Cases & QuiltsTina sewed a quilt top too.  Here we both are holding them up.
We will take them to have them finished off and quilted.
Quilt Top
It was a very productive weekend.

Share this!